DIY Chokers to Wear This Summer
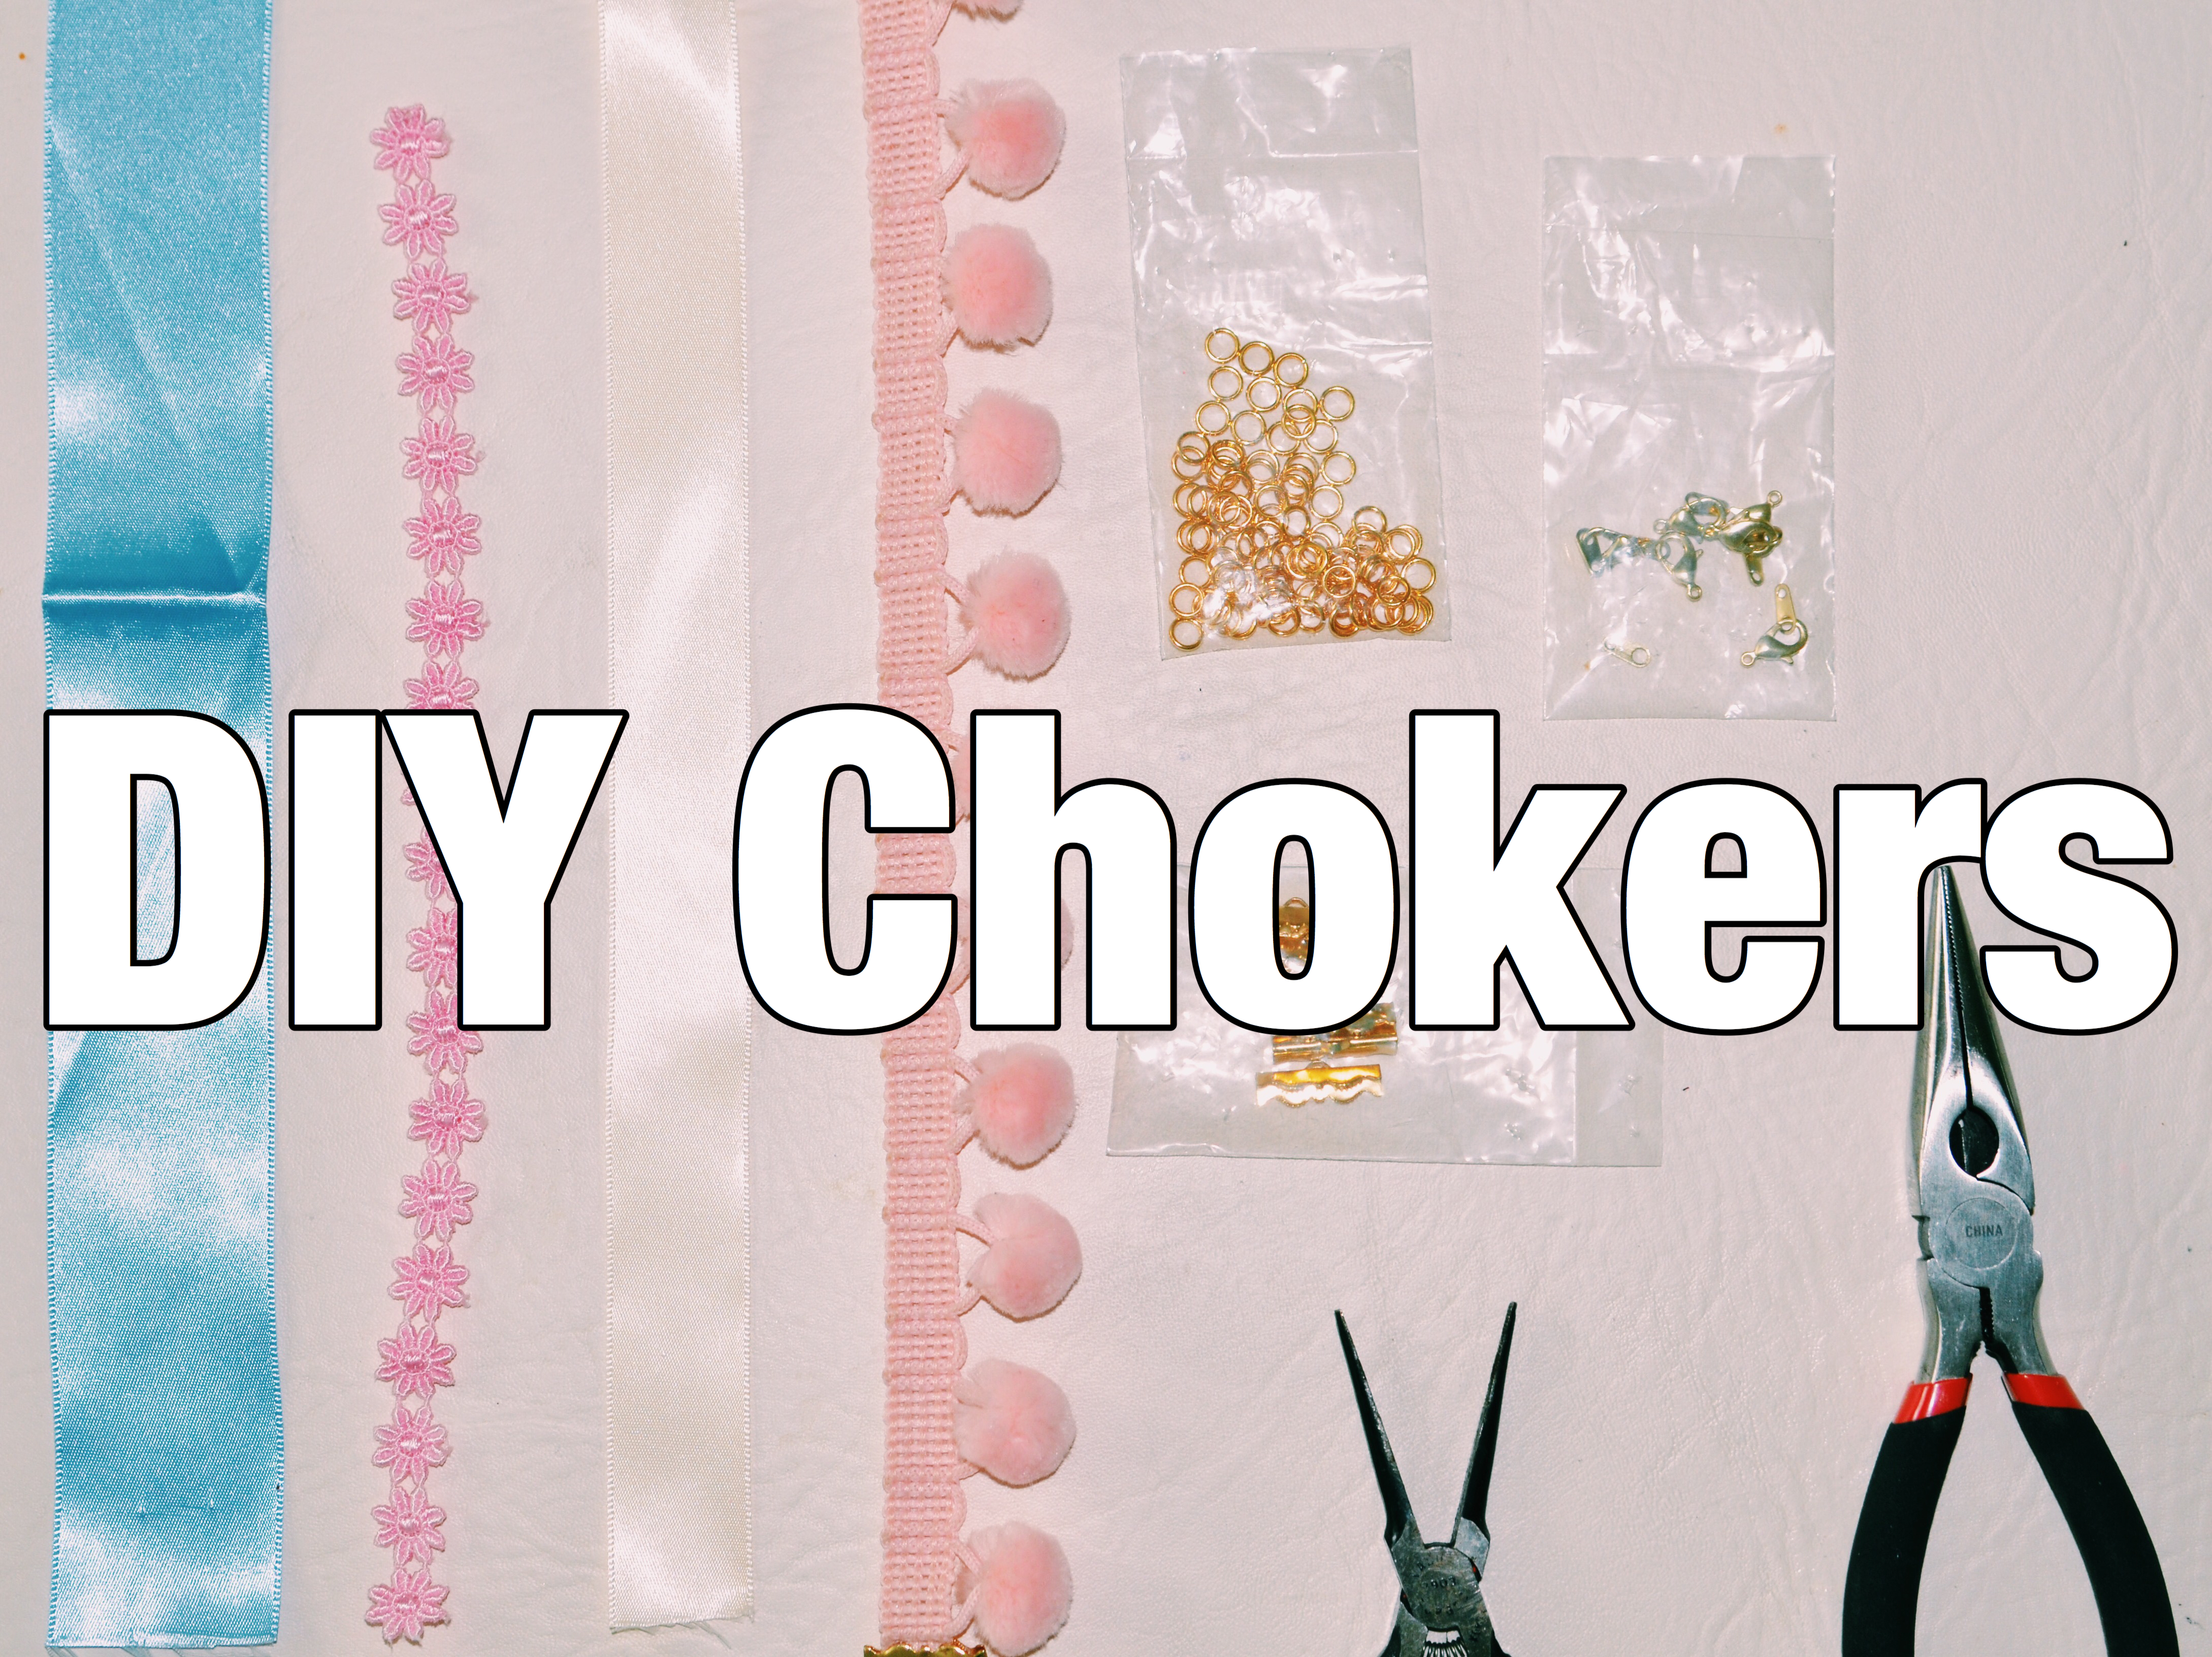
The tattoo choker made it’s mark in the ’90s, being worn by girls of all ages. For this trend, and several more, the saying ‘what goes around, comes around’ holds true. Chokers came back a couple of years go with a bang! We were reintroduced to the tattoo choker along with several other designs featuring all different kinds of materials, fabrics, colors, sizes, and shapes!
With this trend often times comes the unnecessary price tag for what the product actually is. Don’t worry though; today I’m showing you how to make a choker yourself at home! This way all your choker desires may be met.
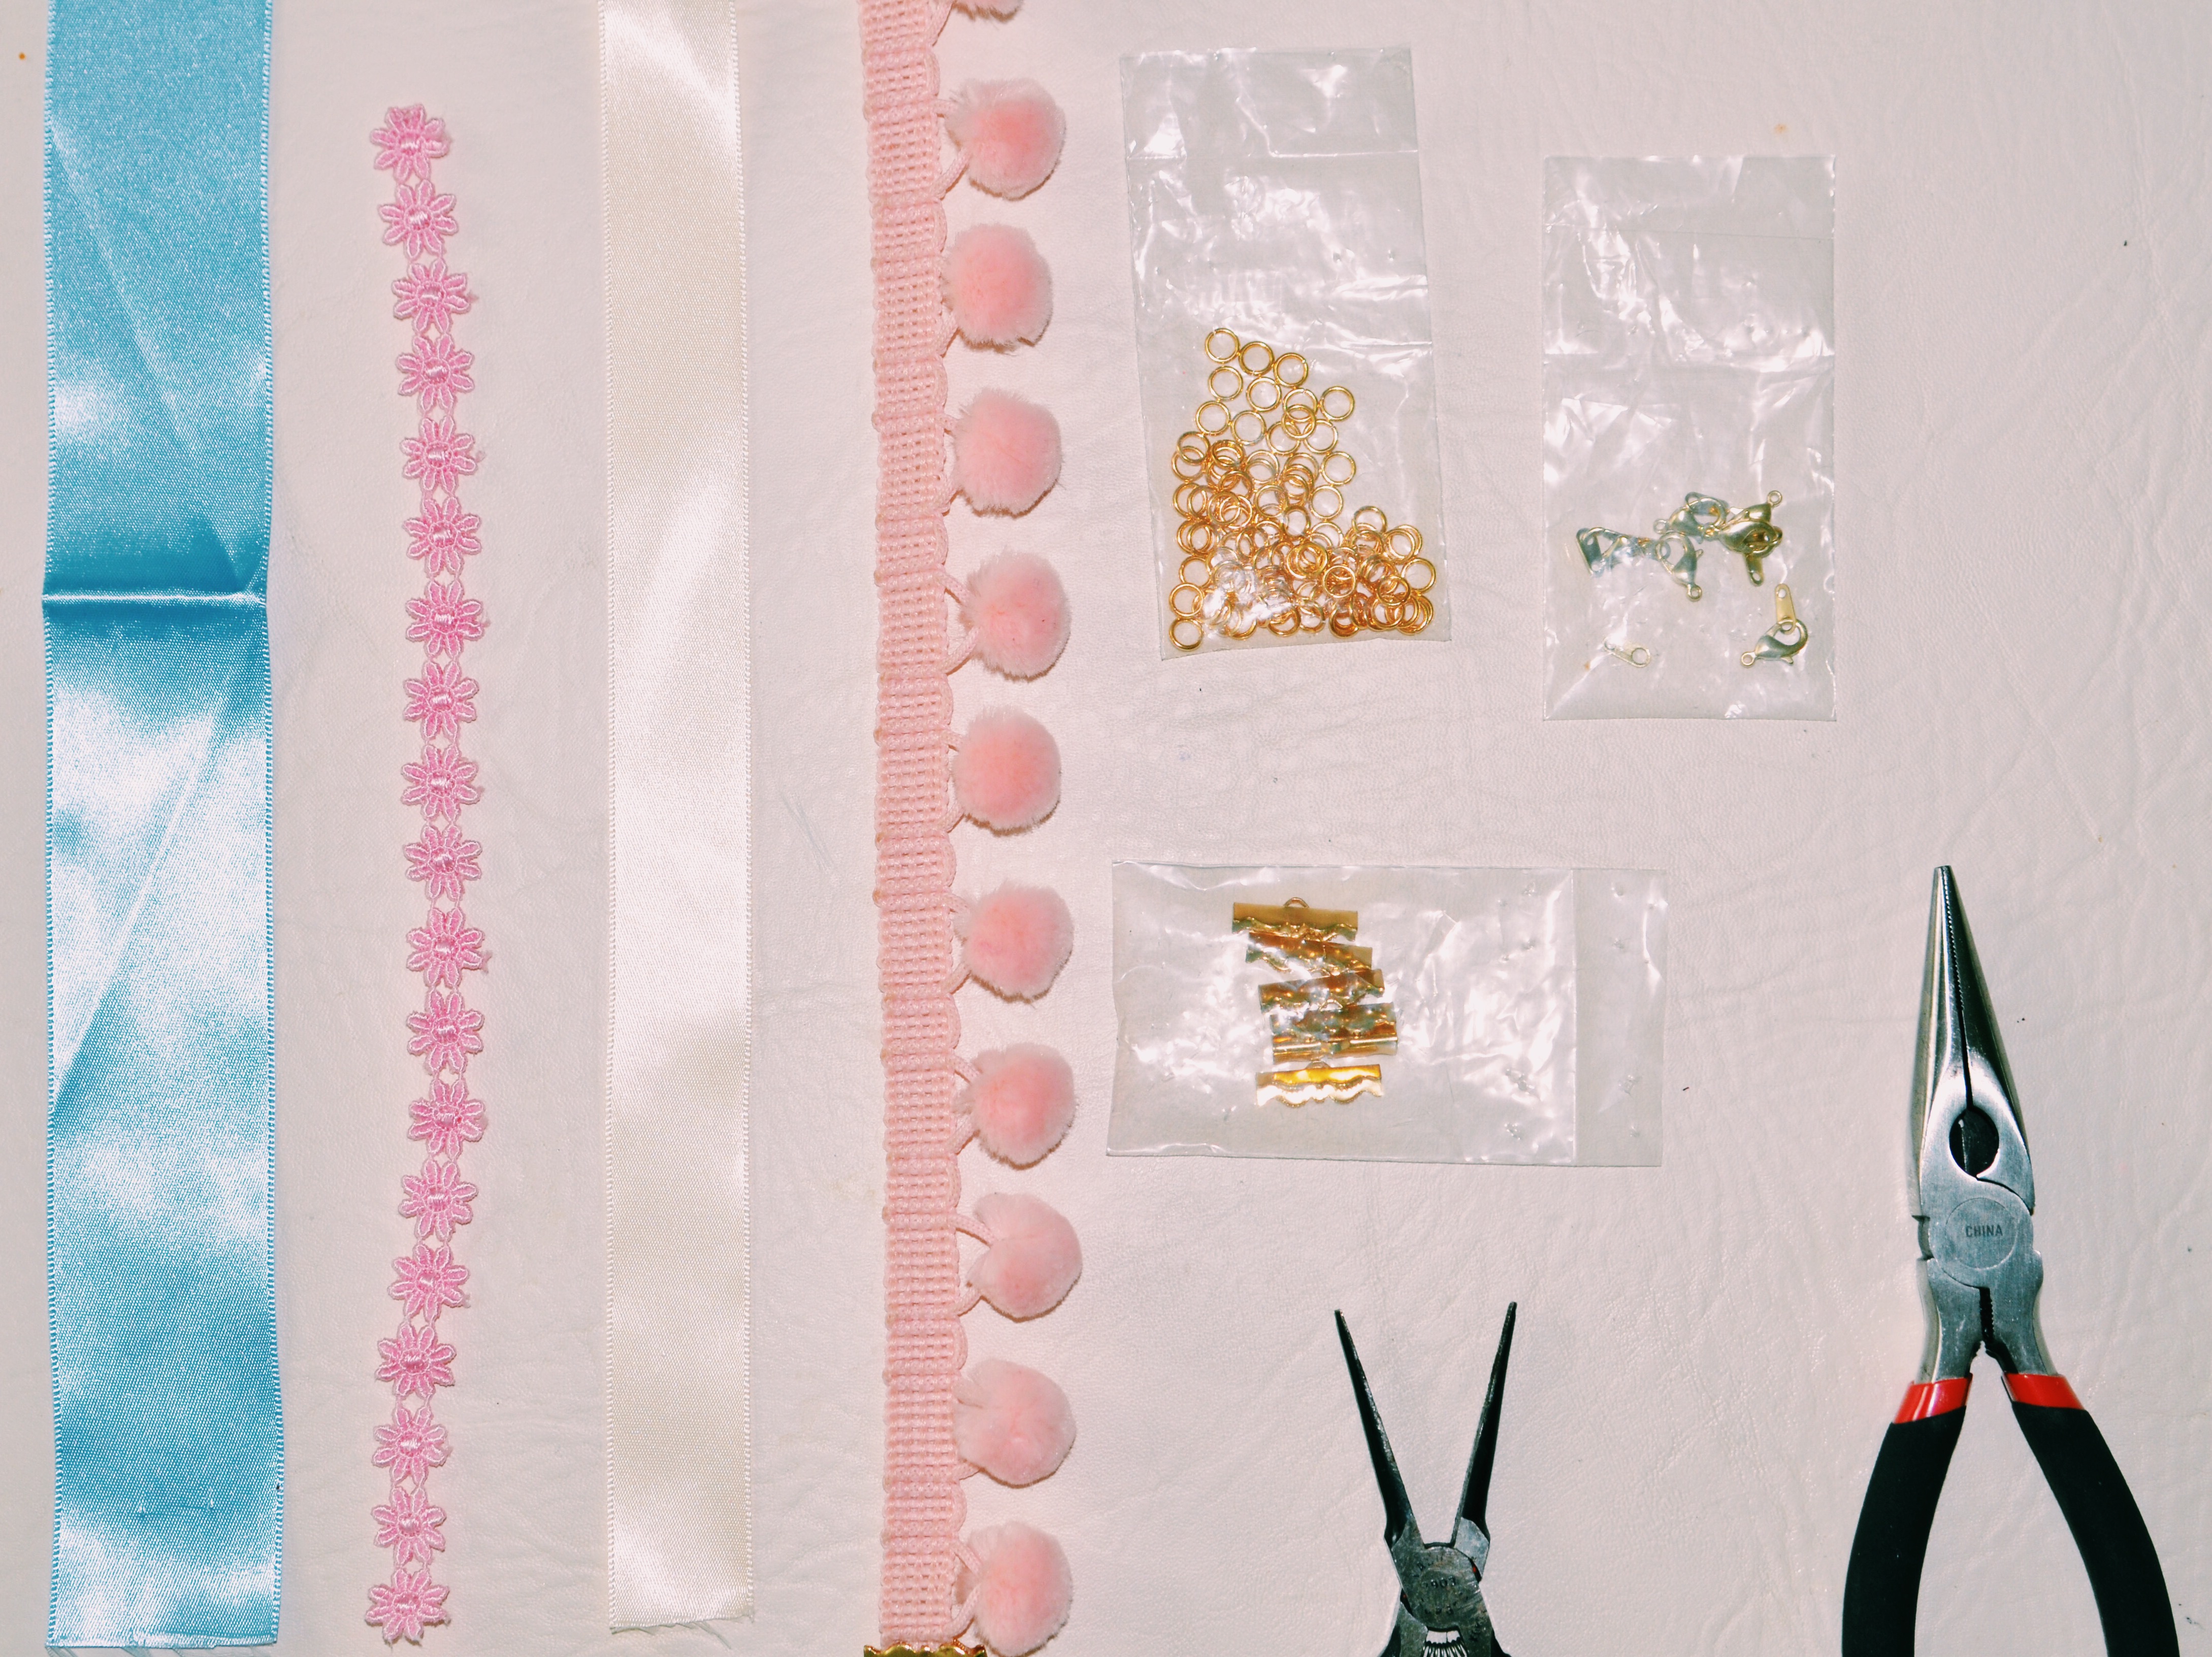
Here’s what you’ll need- (yields one choker)
- any ribbon/trim that measures about 1 inch shorter than the length of your neck
- two ribbon ends
- two small jump rings (may vary depending on the length of ribbon)
- one clasp
- a pair of round nose jewelry pliers
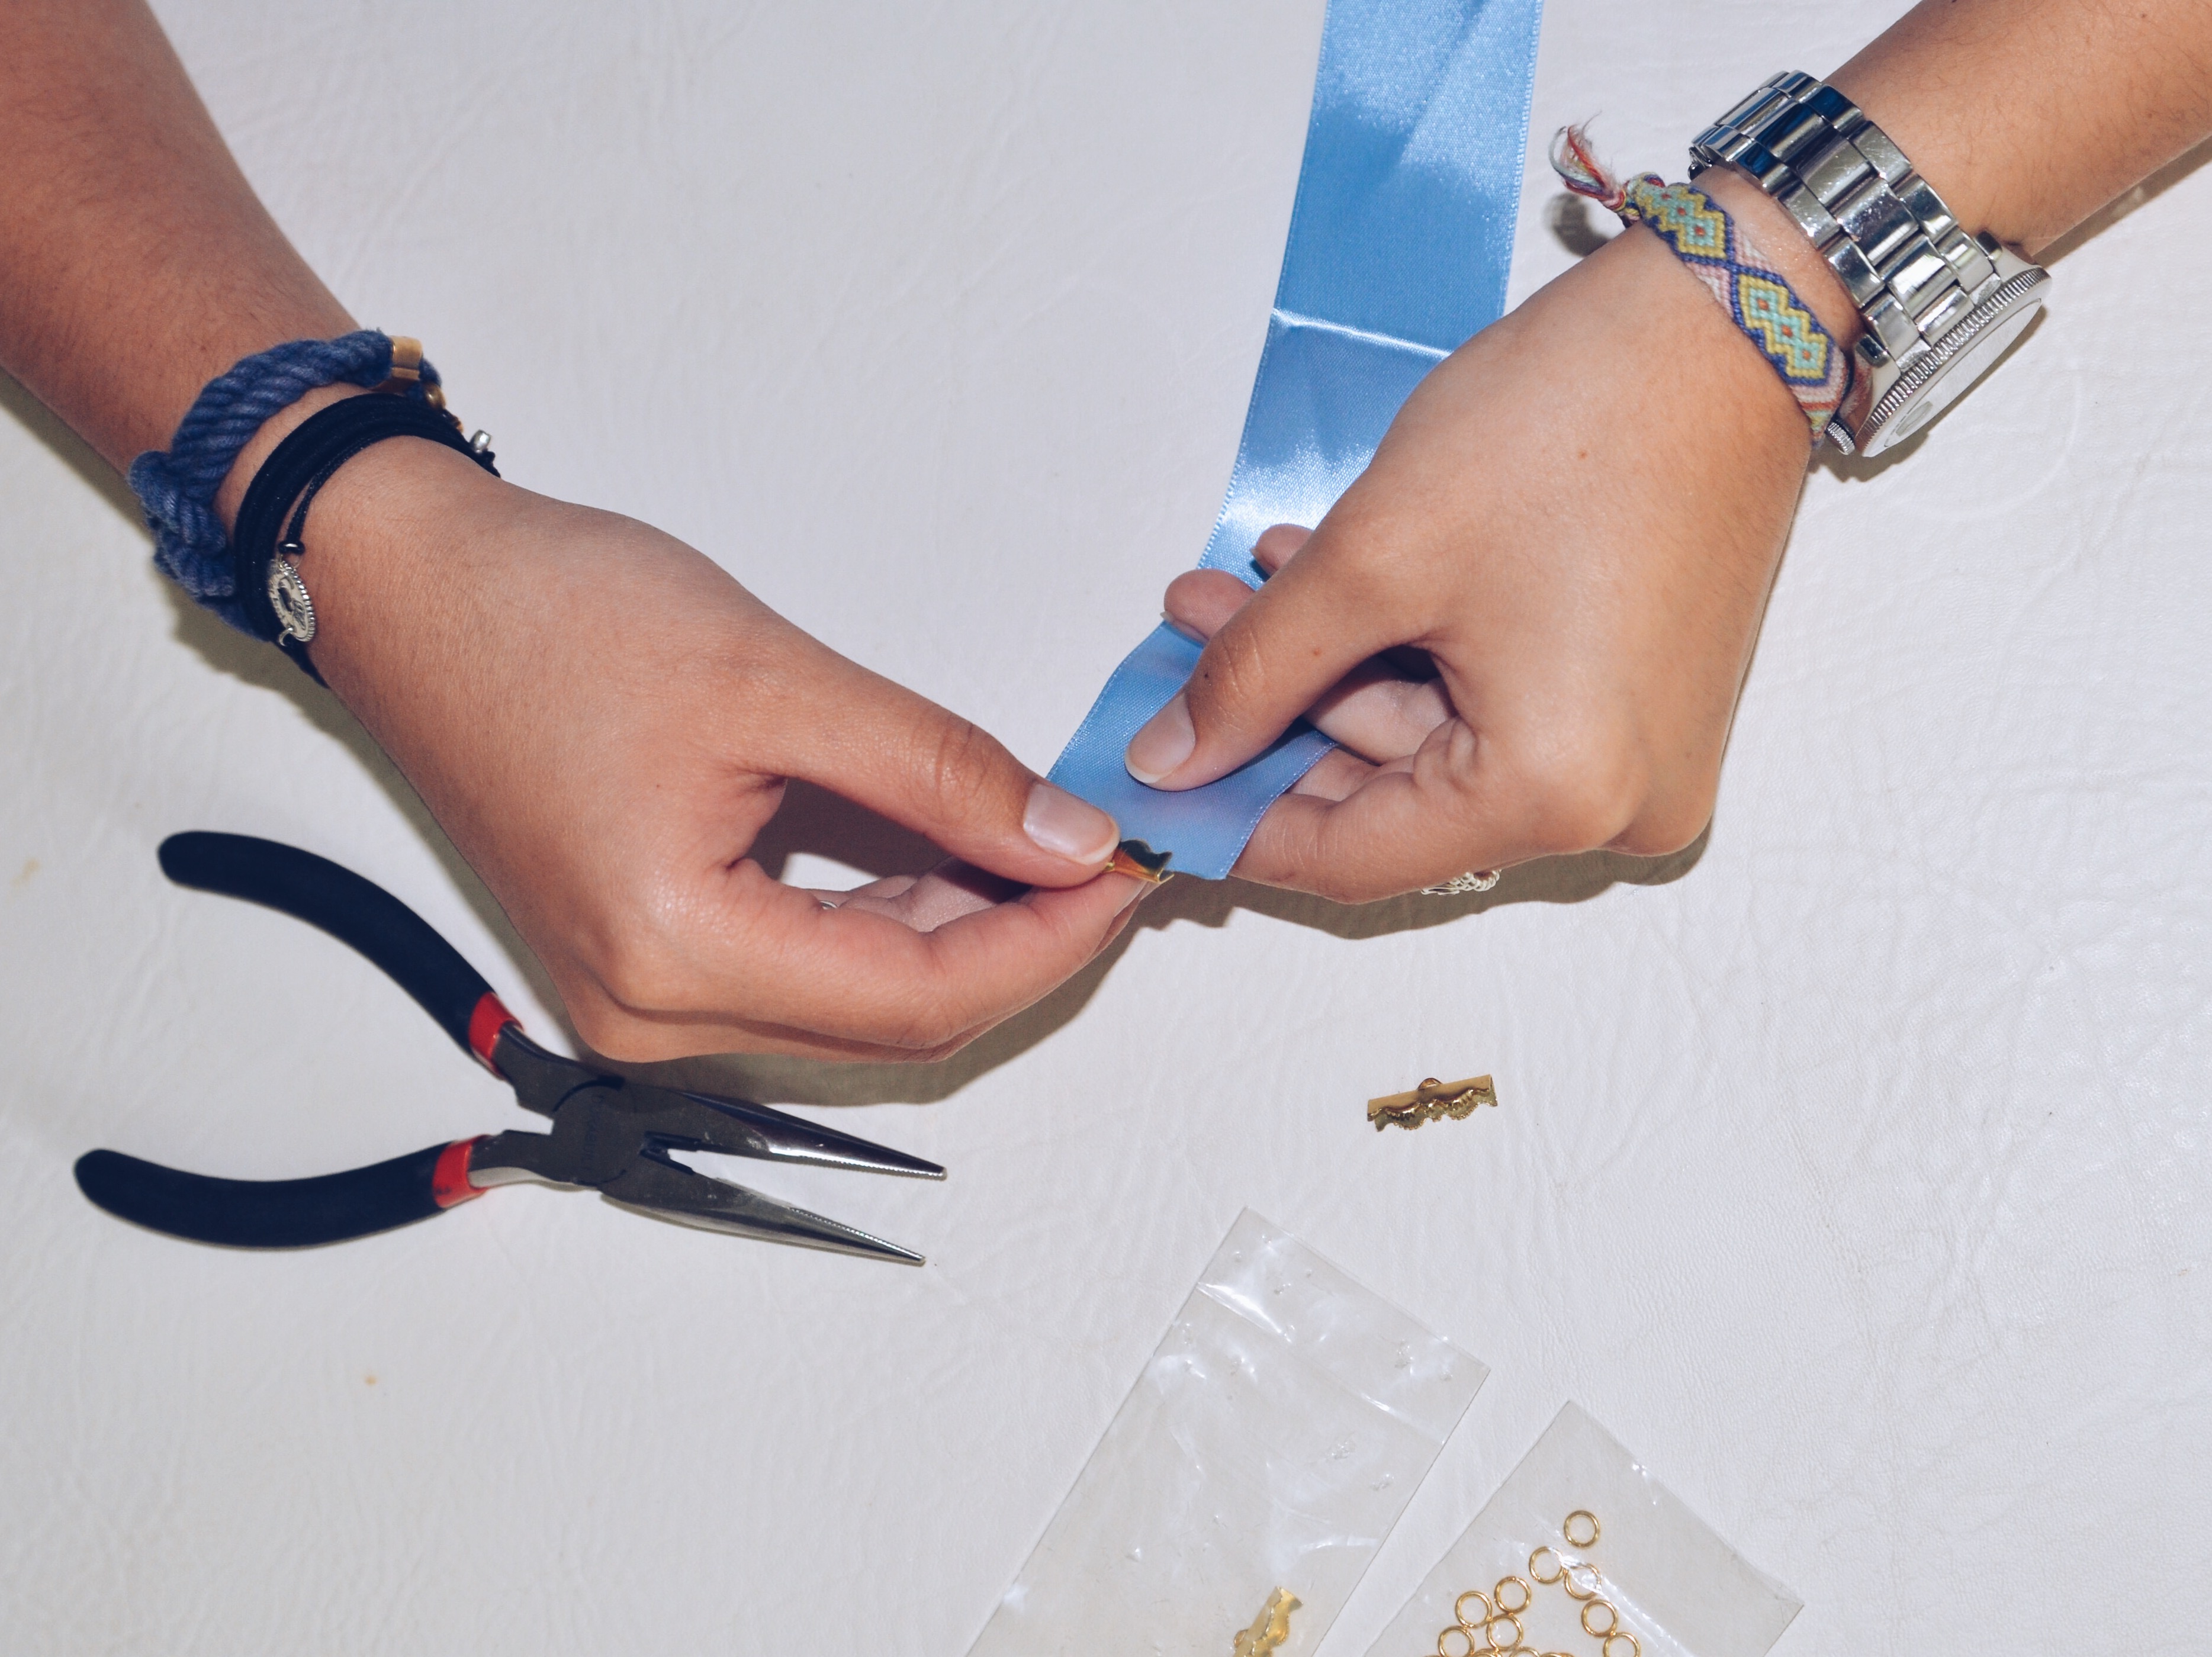
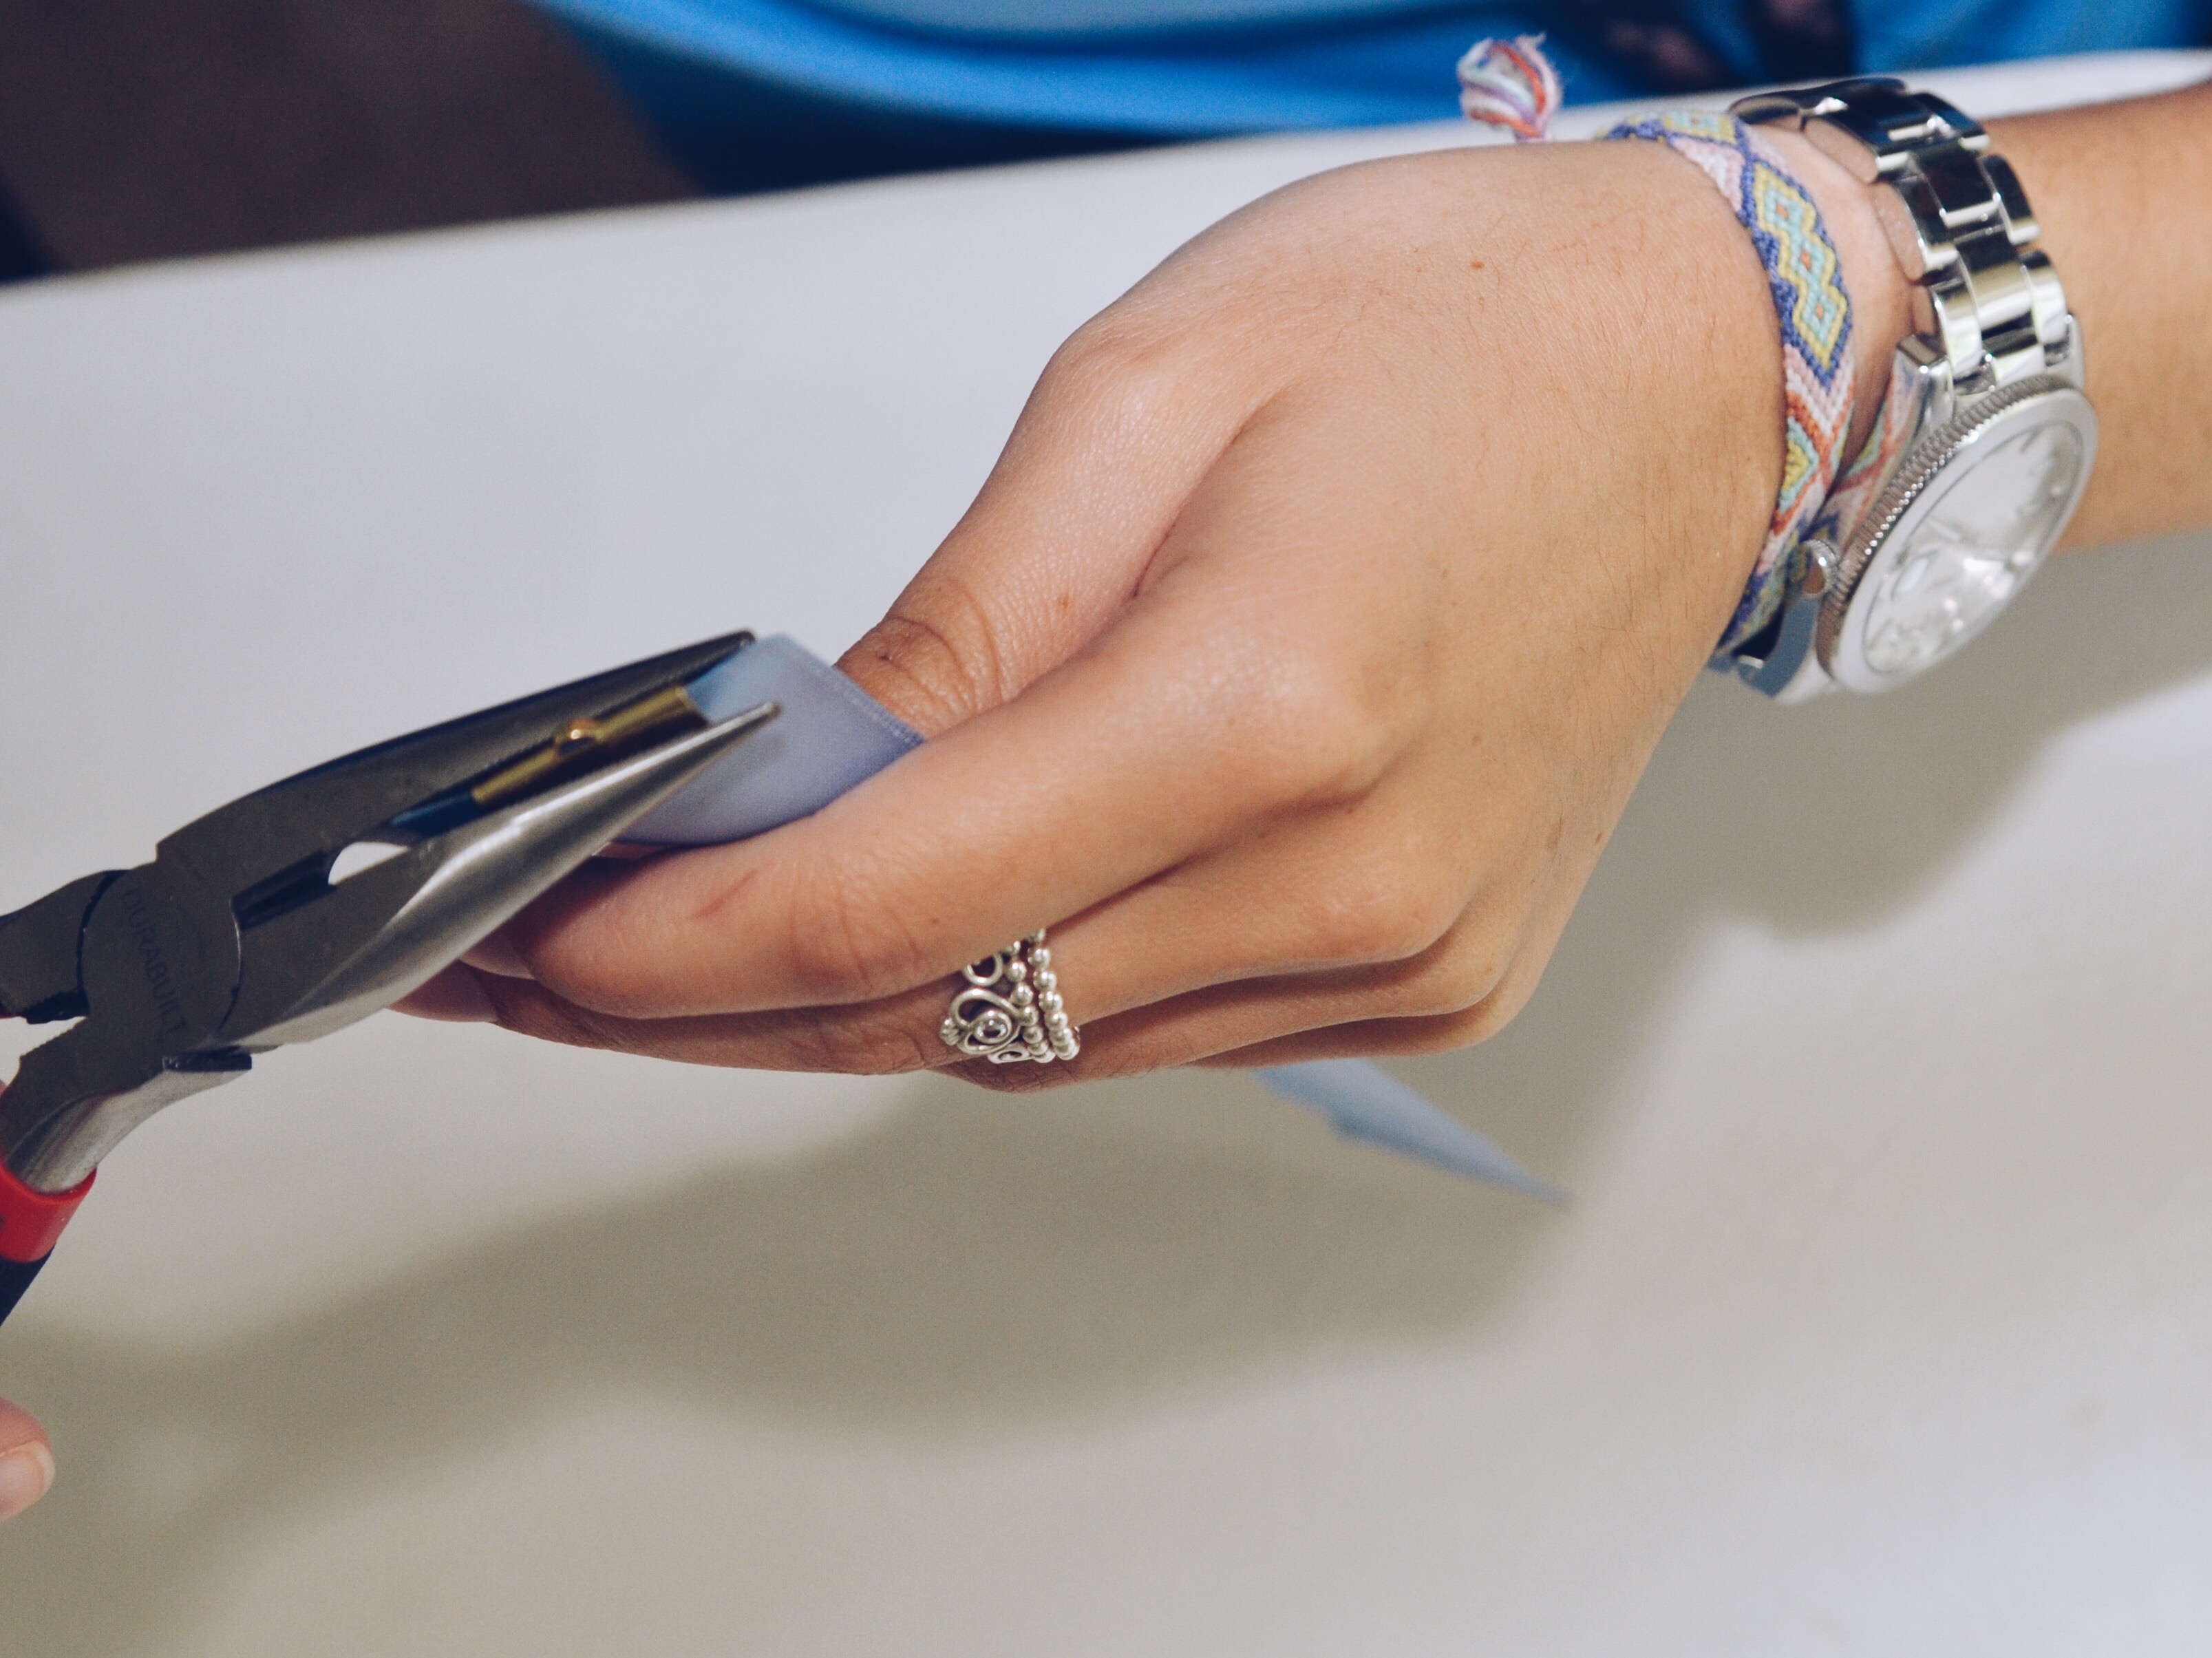
To begin, position one ribbon end in the center of your piece of pre-cut ribbon. Secure this to the ribbon with the round nose jewelry pliers.
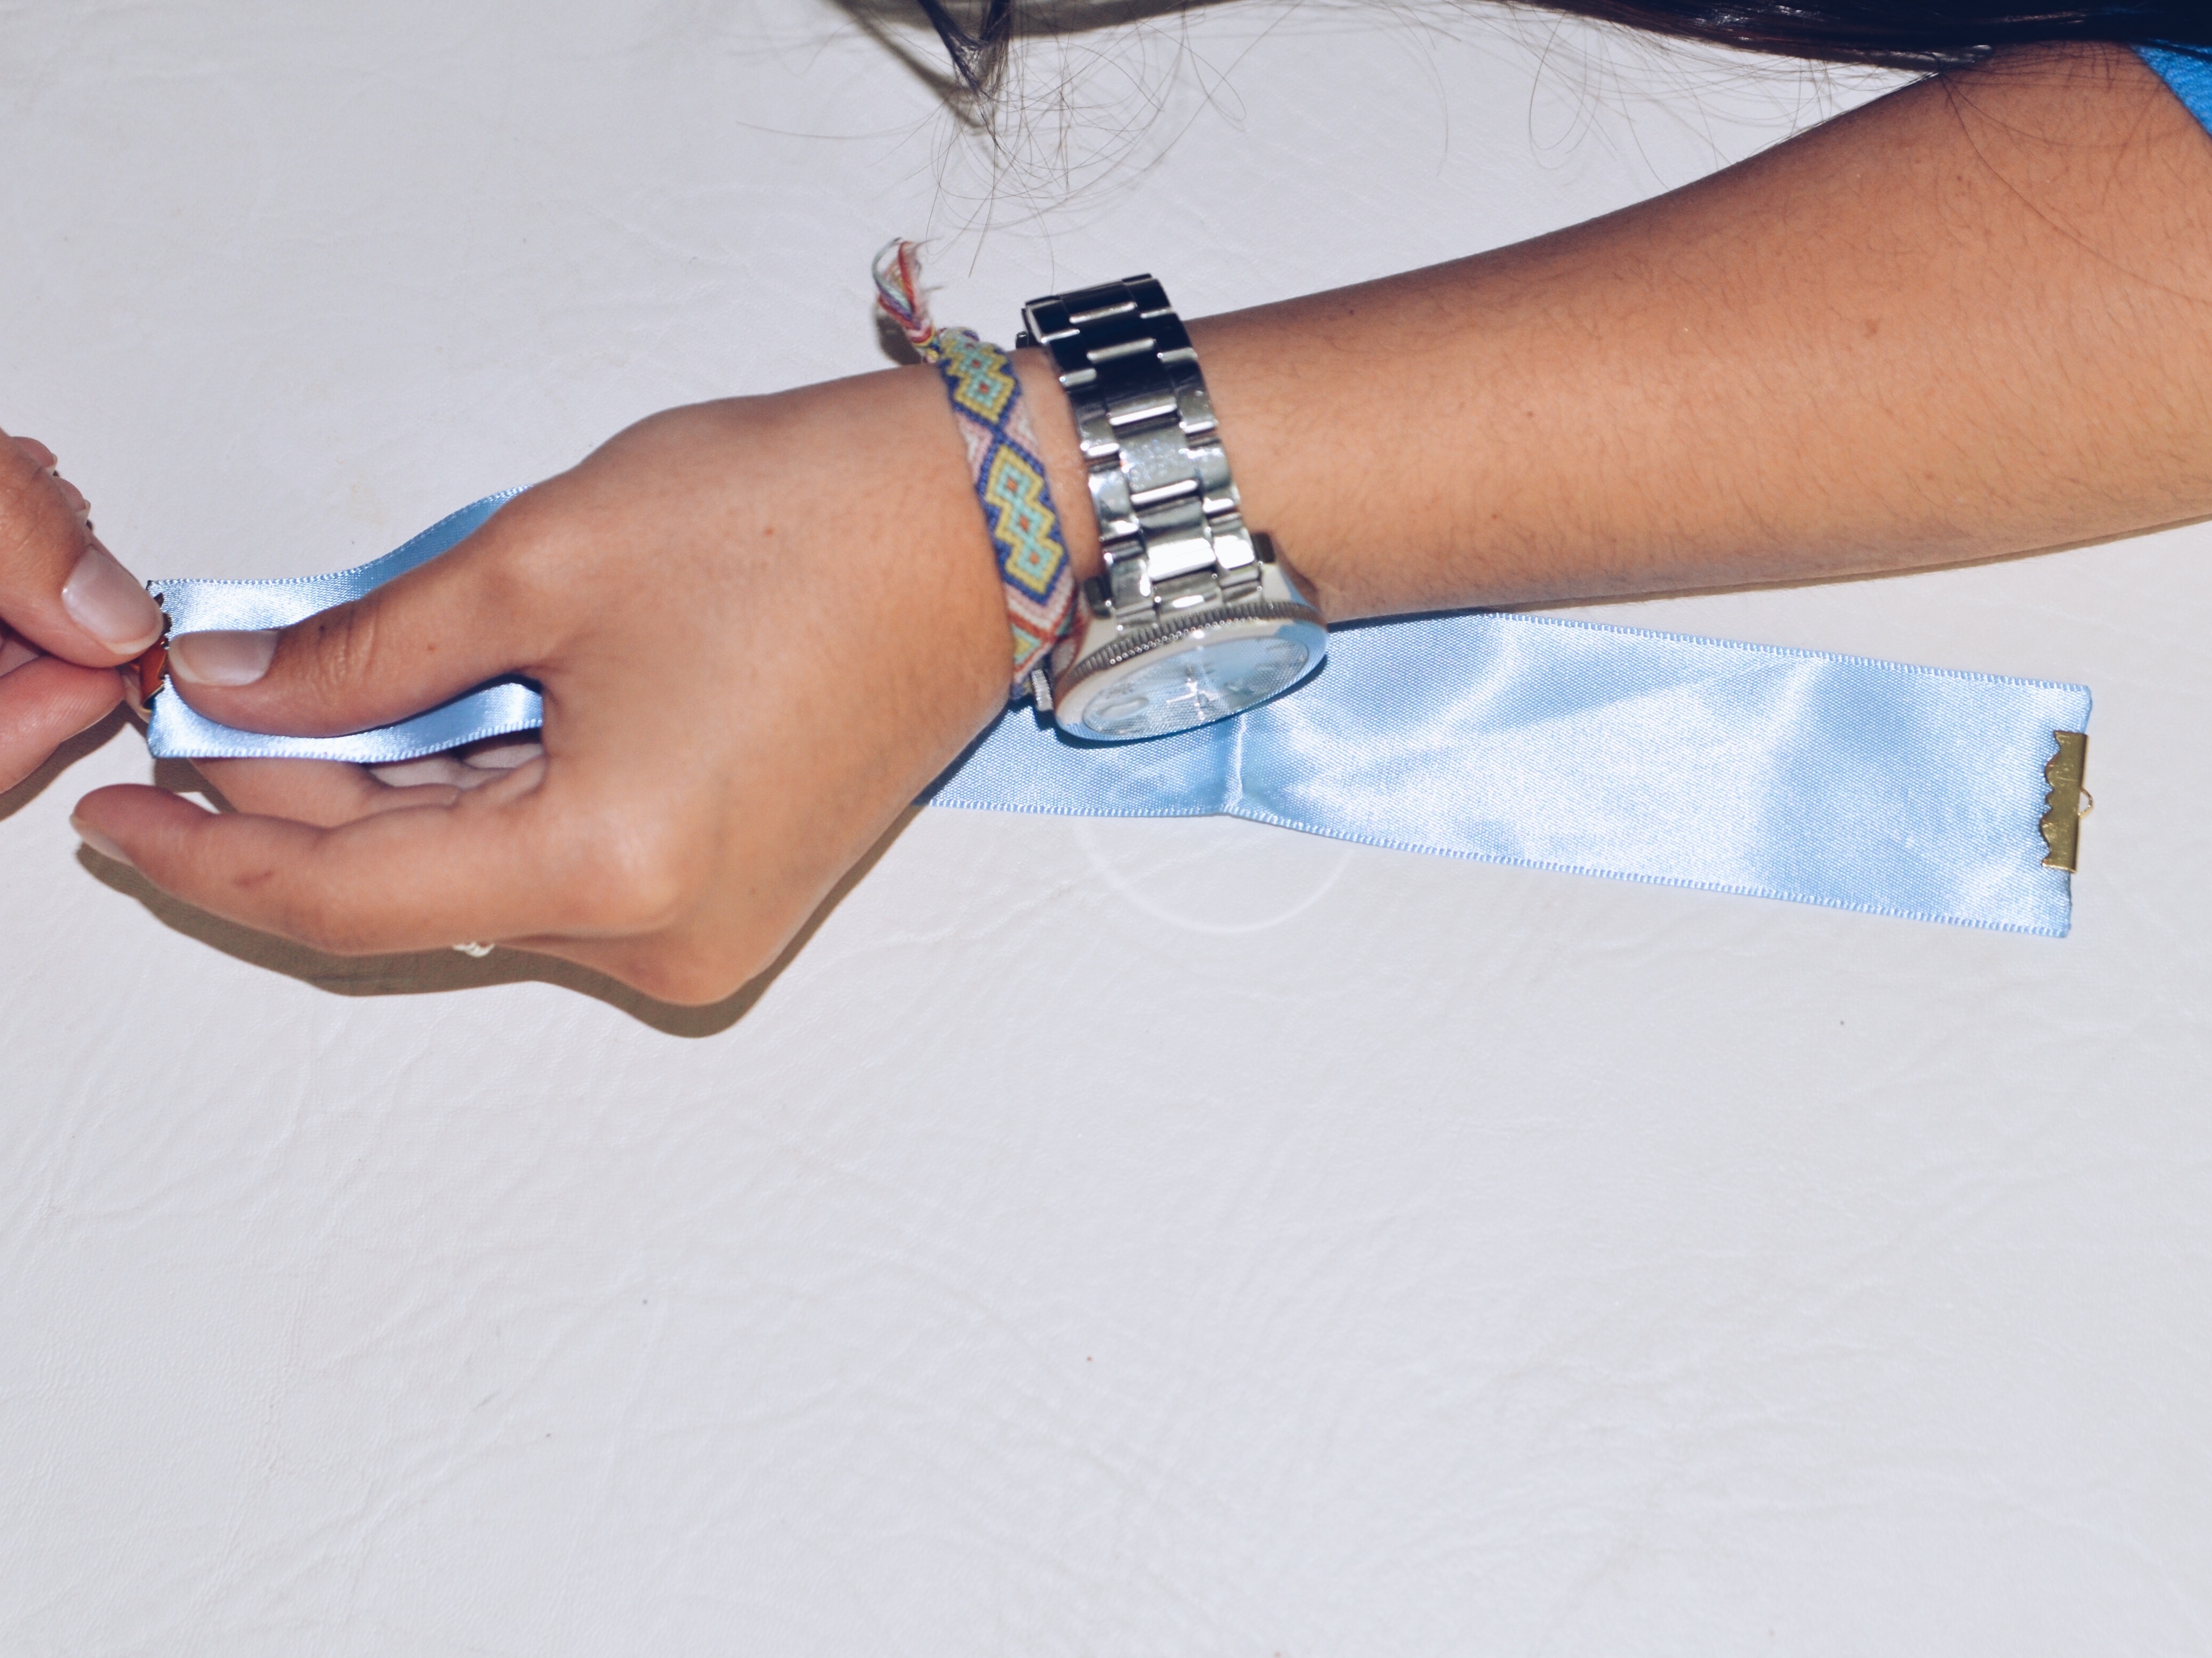
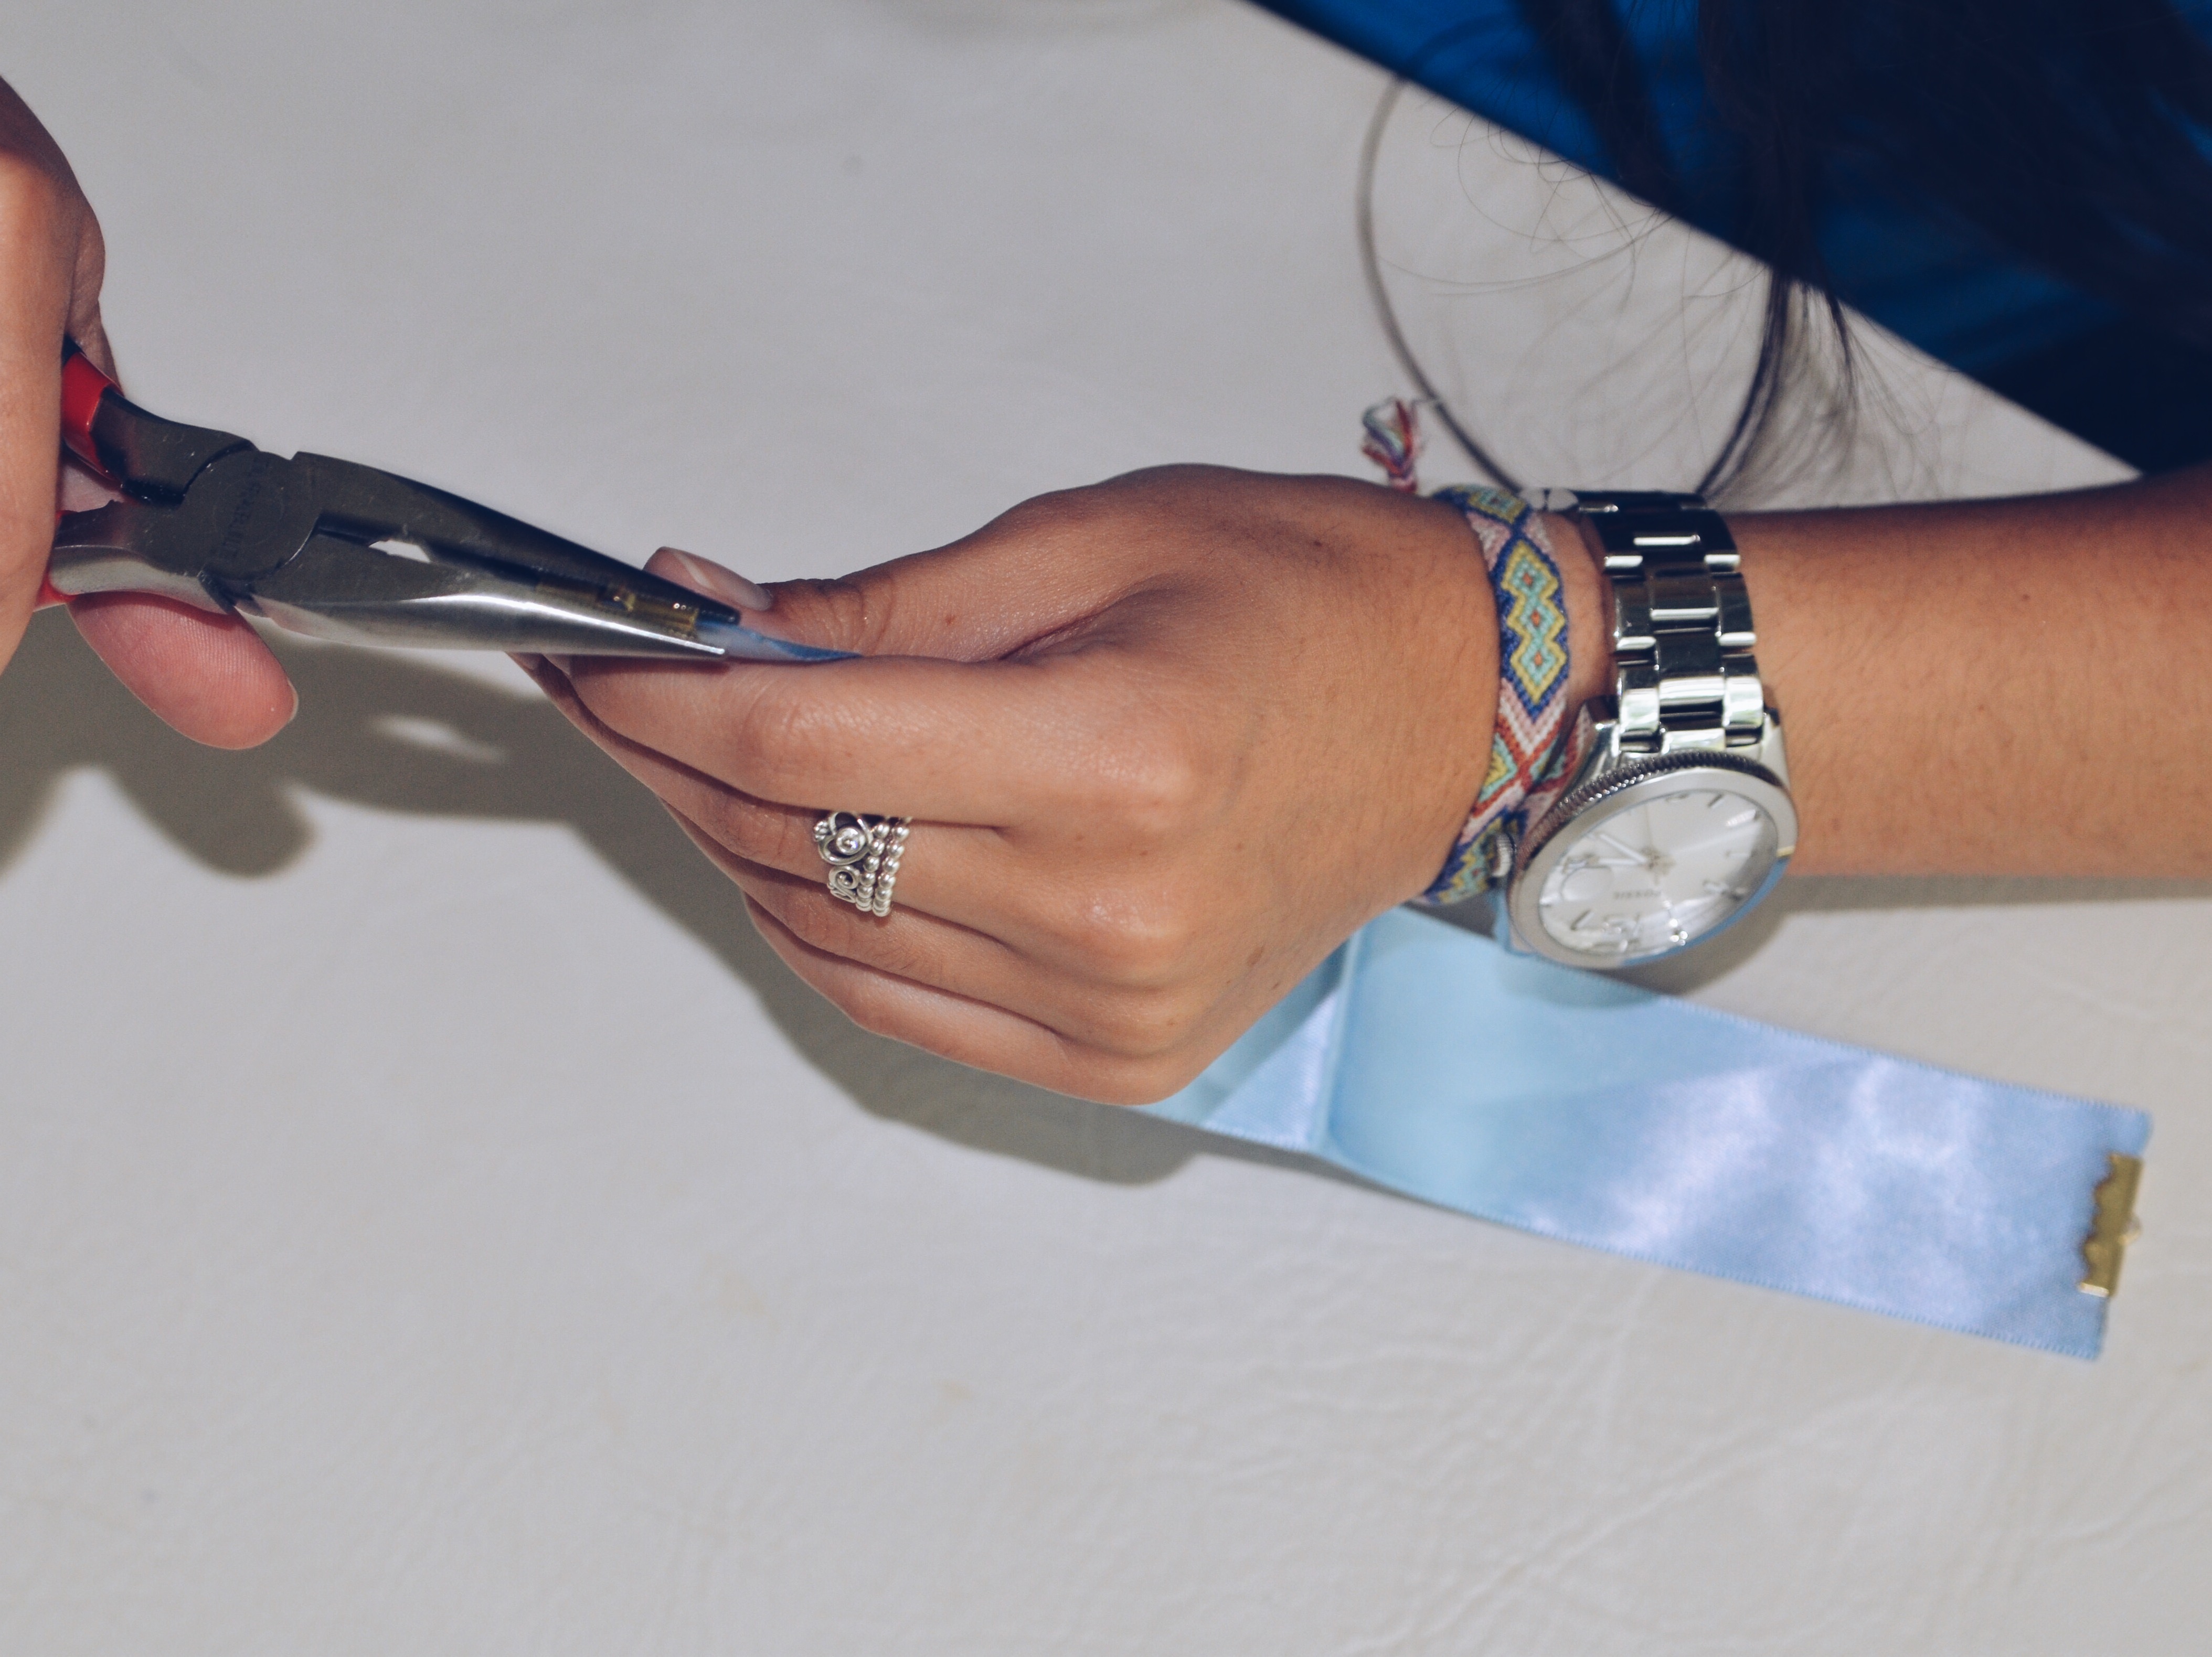
Then, repeat the previous step to the opposite end of the pre-cut ribbon. After this point, both ends of the pre-cut ribbon should have a ribbon end attached.
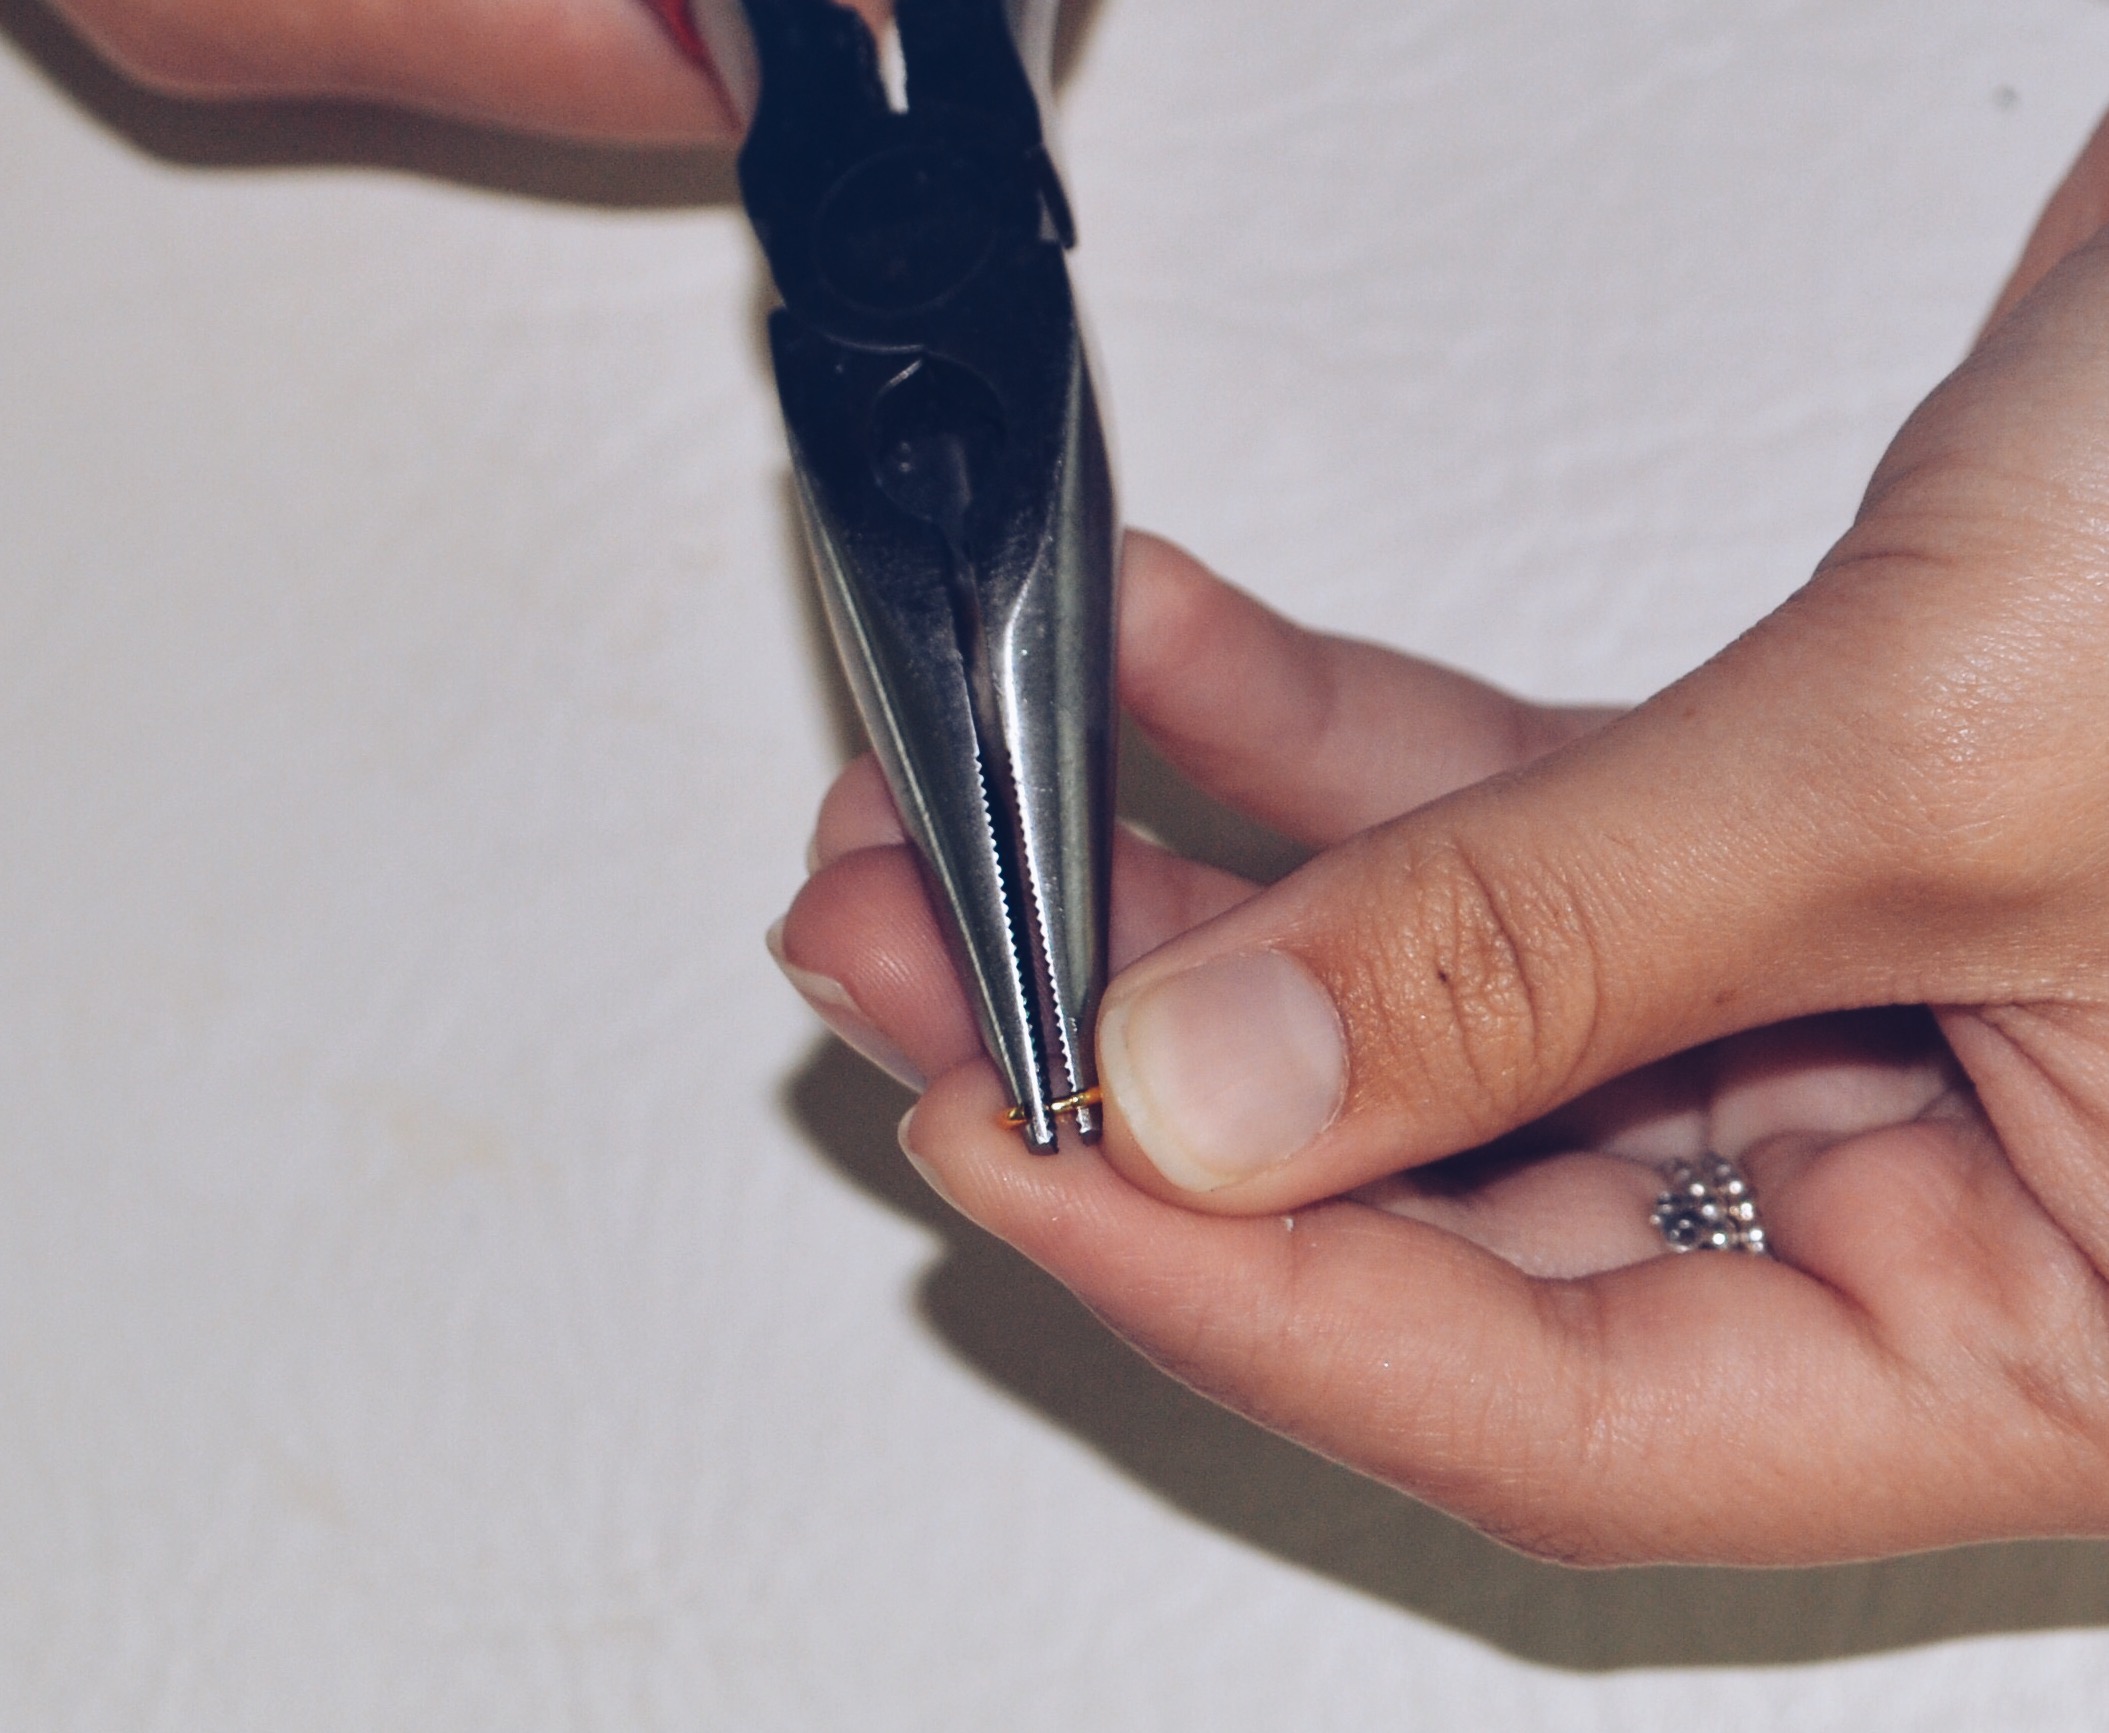
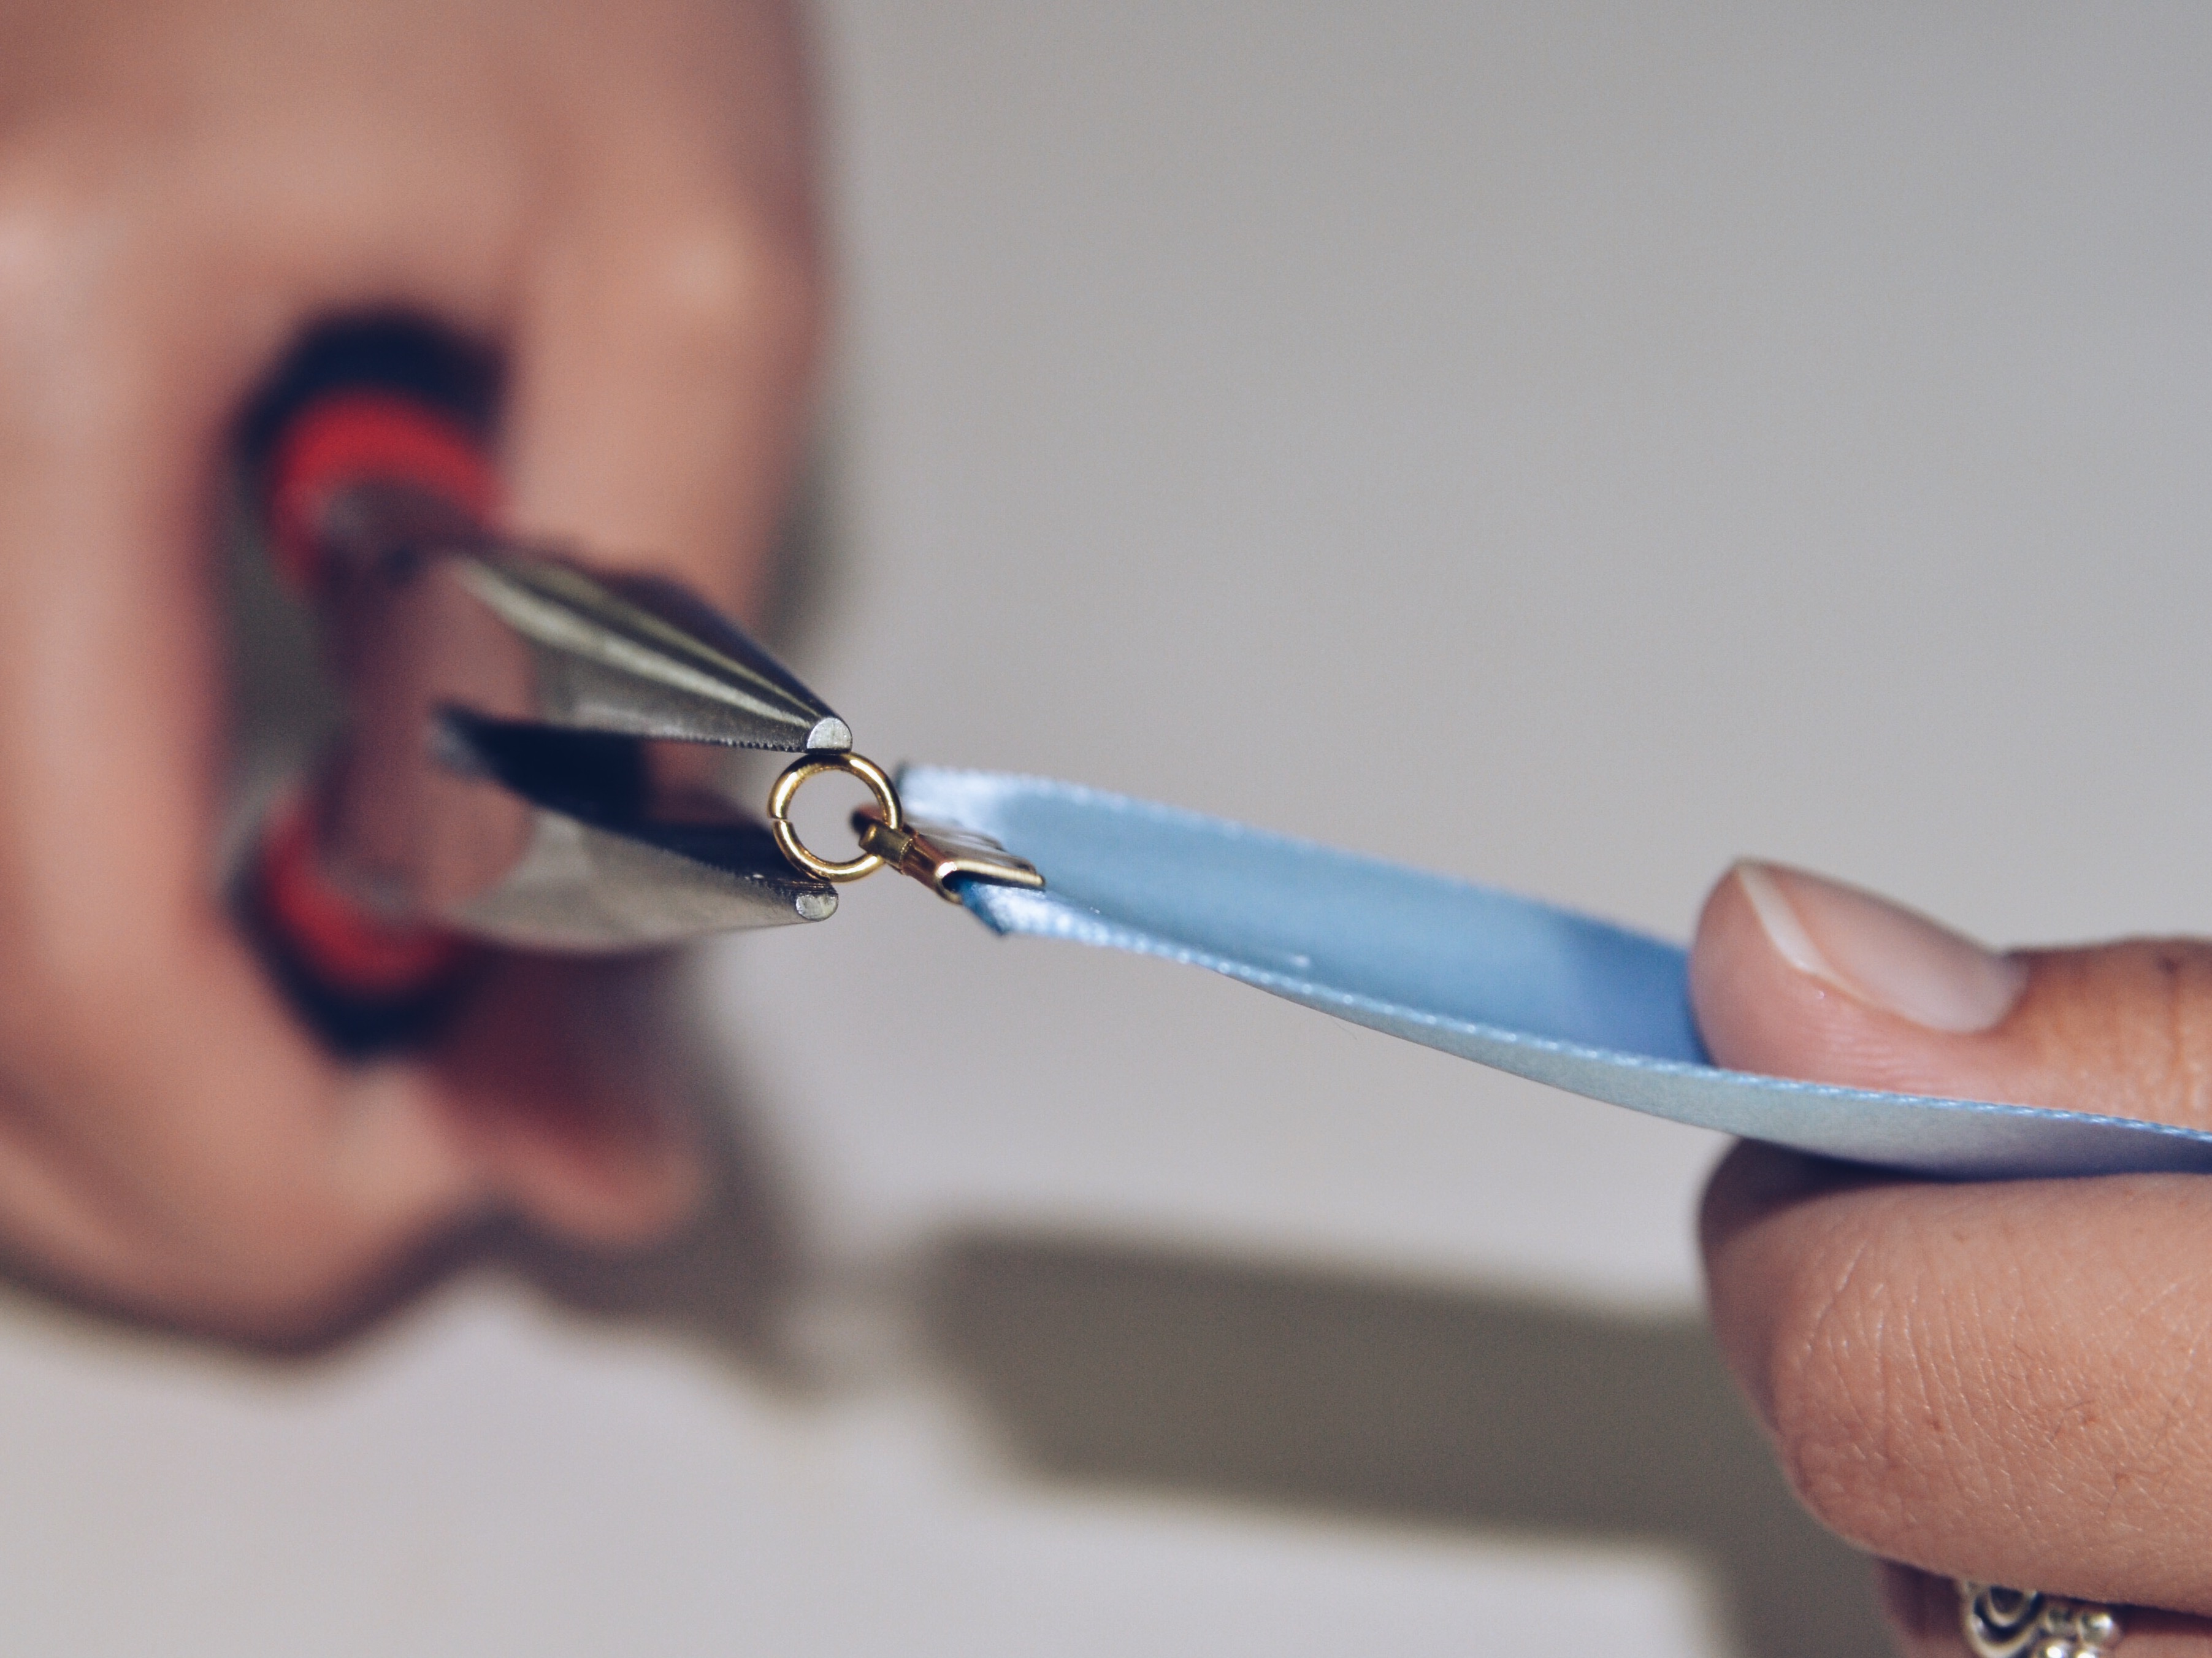
Then take a jump ring on the tip of your round nose jewelry pliers and begin to pull the pliers apart. At this point the jump ring should begin to separate. Now take the jump ring and place it into the hole that is on the ribbon end. After, close the jump ring with the round nose jewelry pliers. Do this to one side only.
*Note that you may need more than one jump ring on one end depending on how long you want your chain length to be.
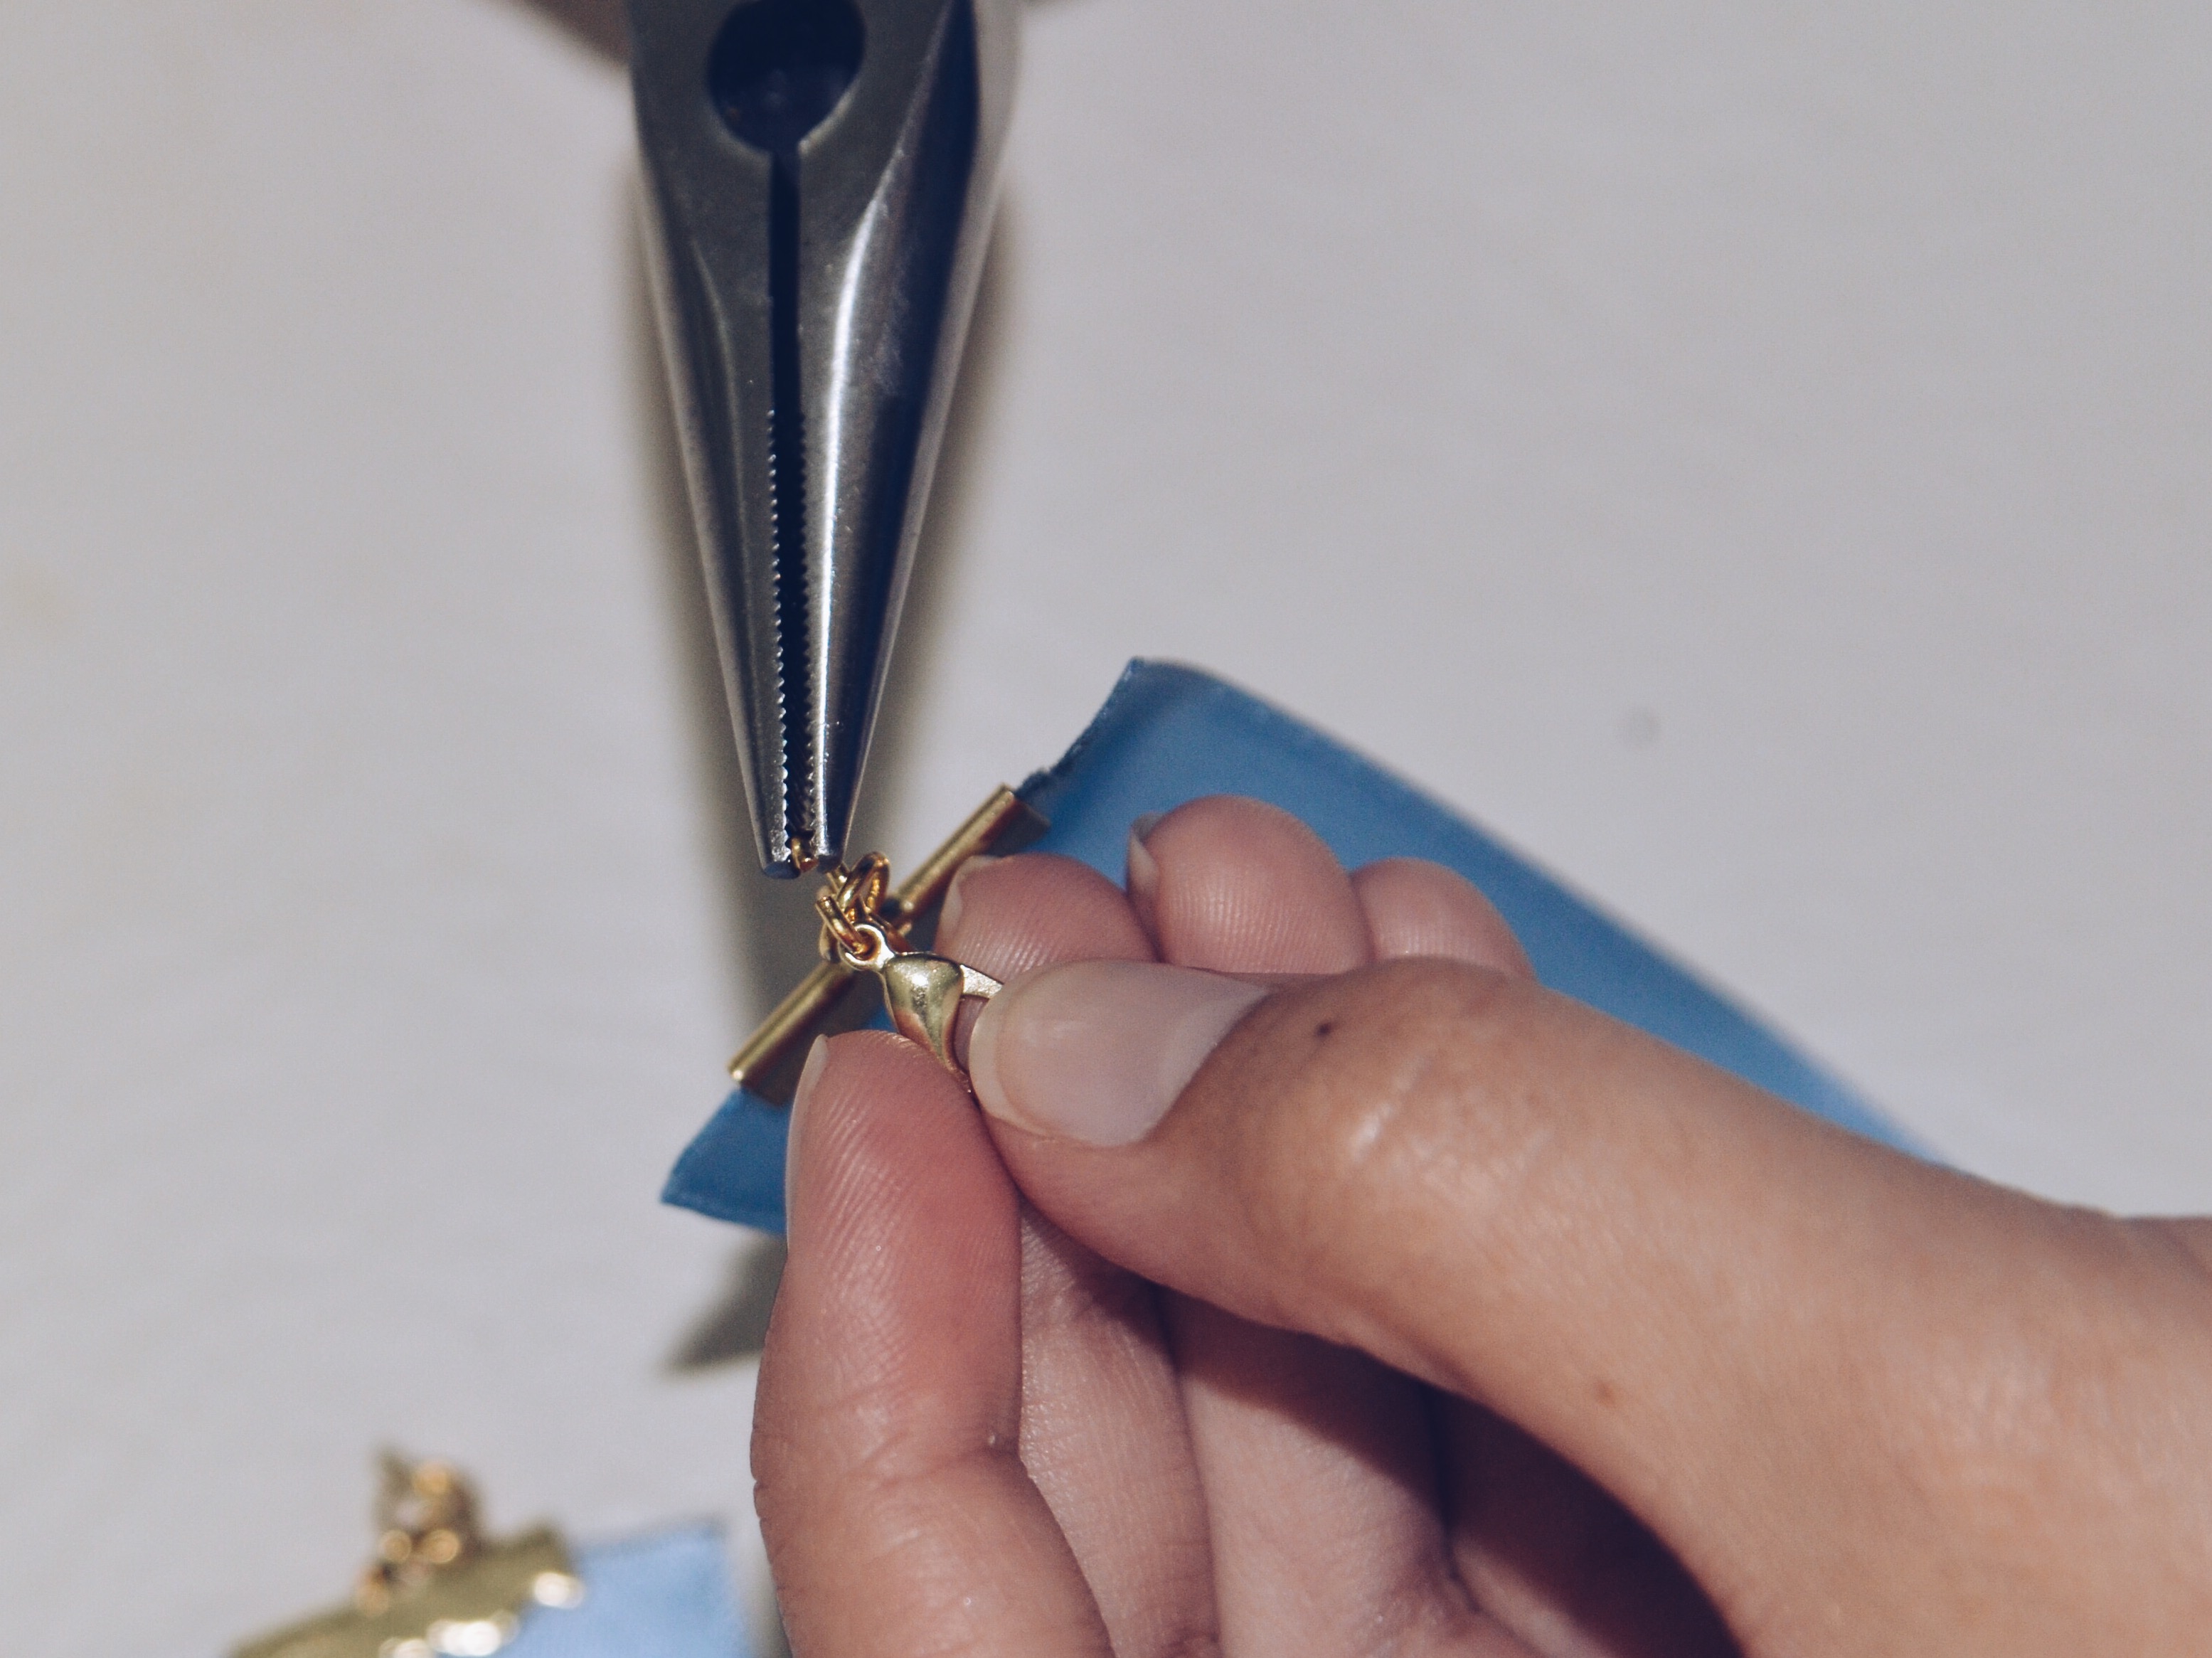
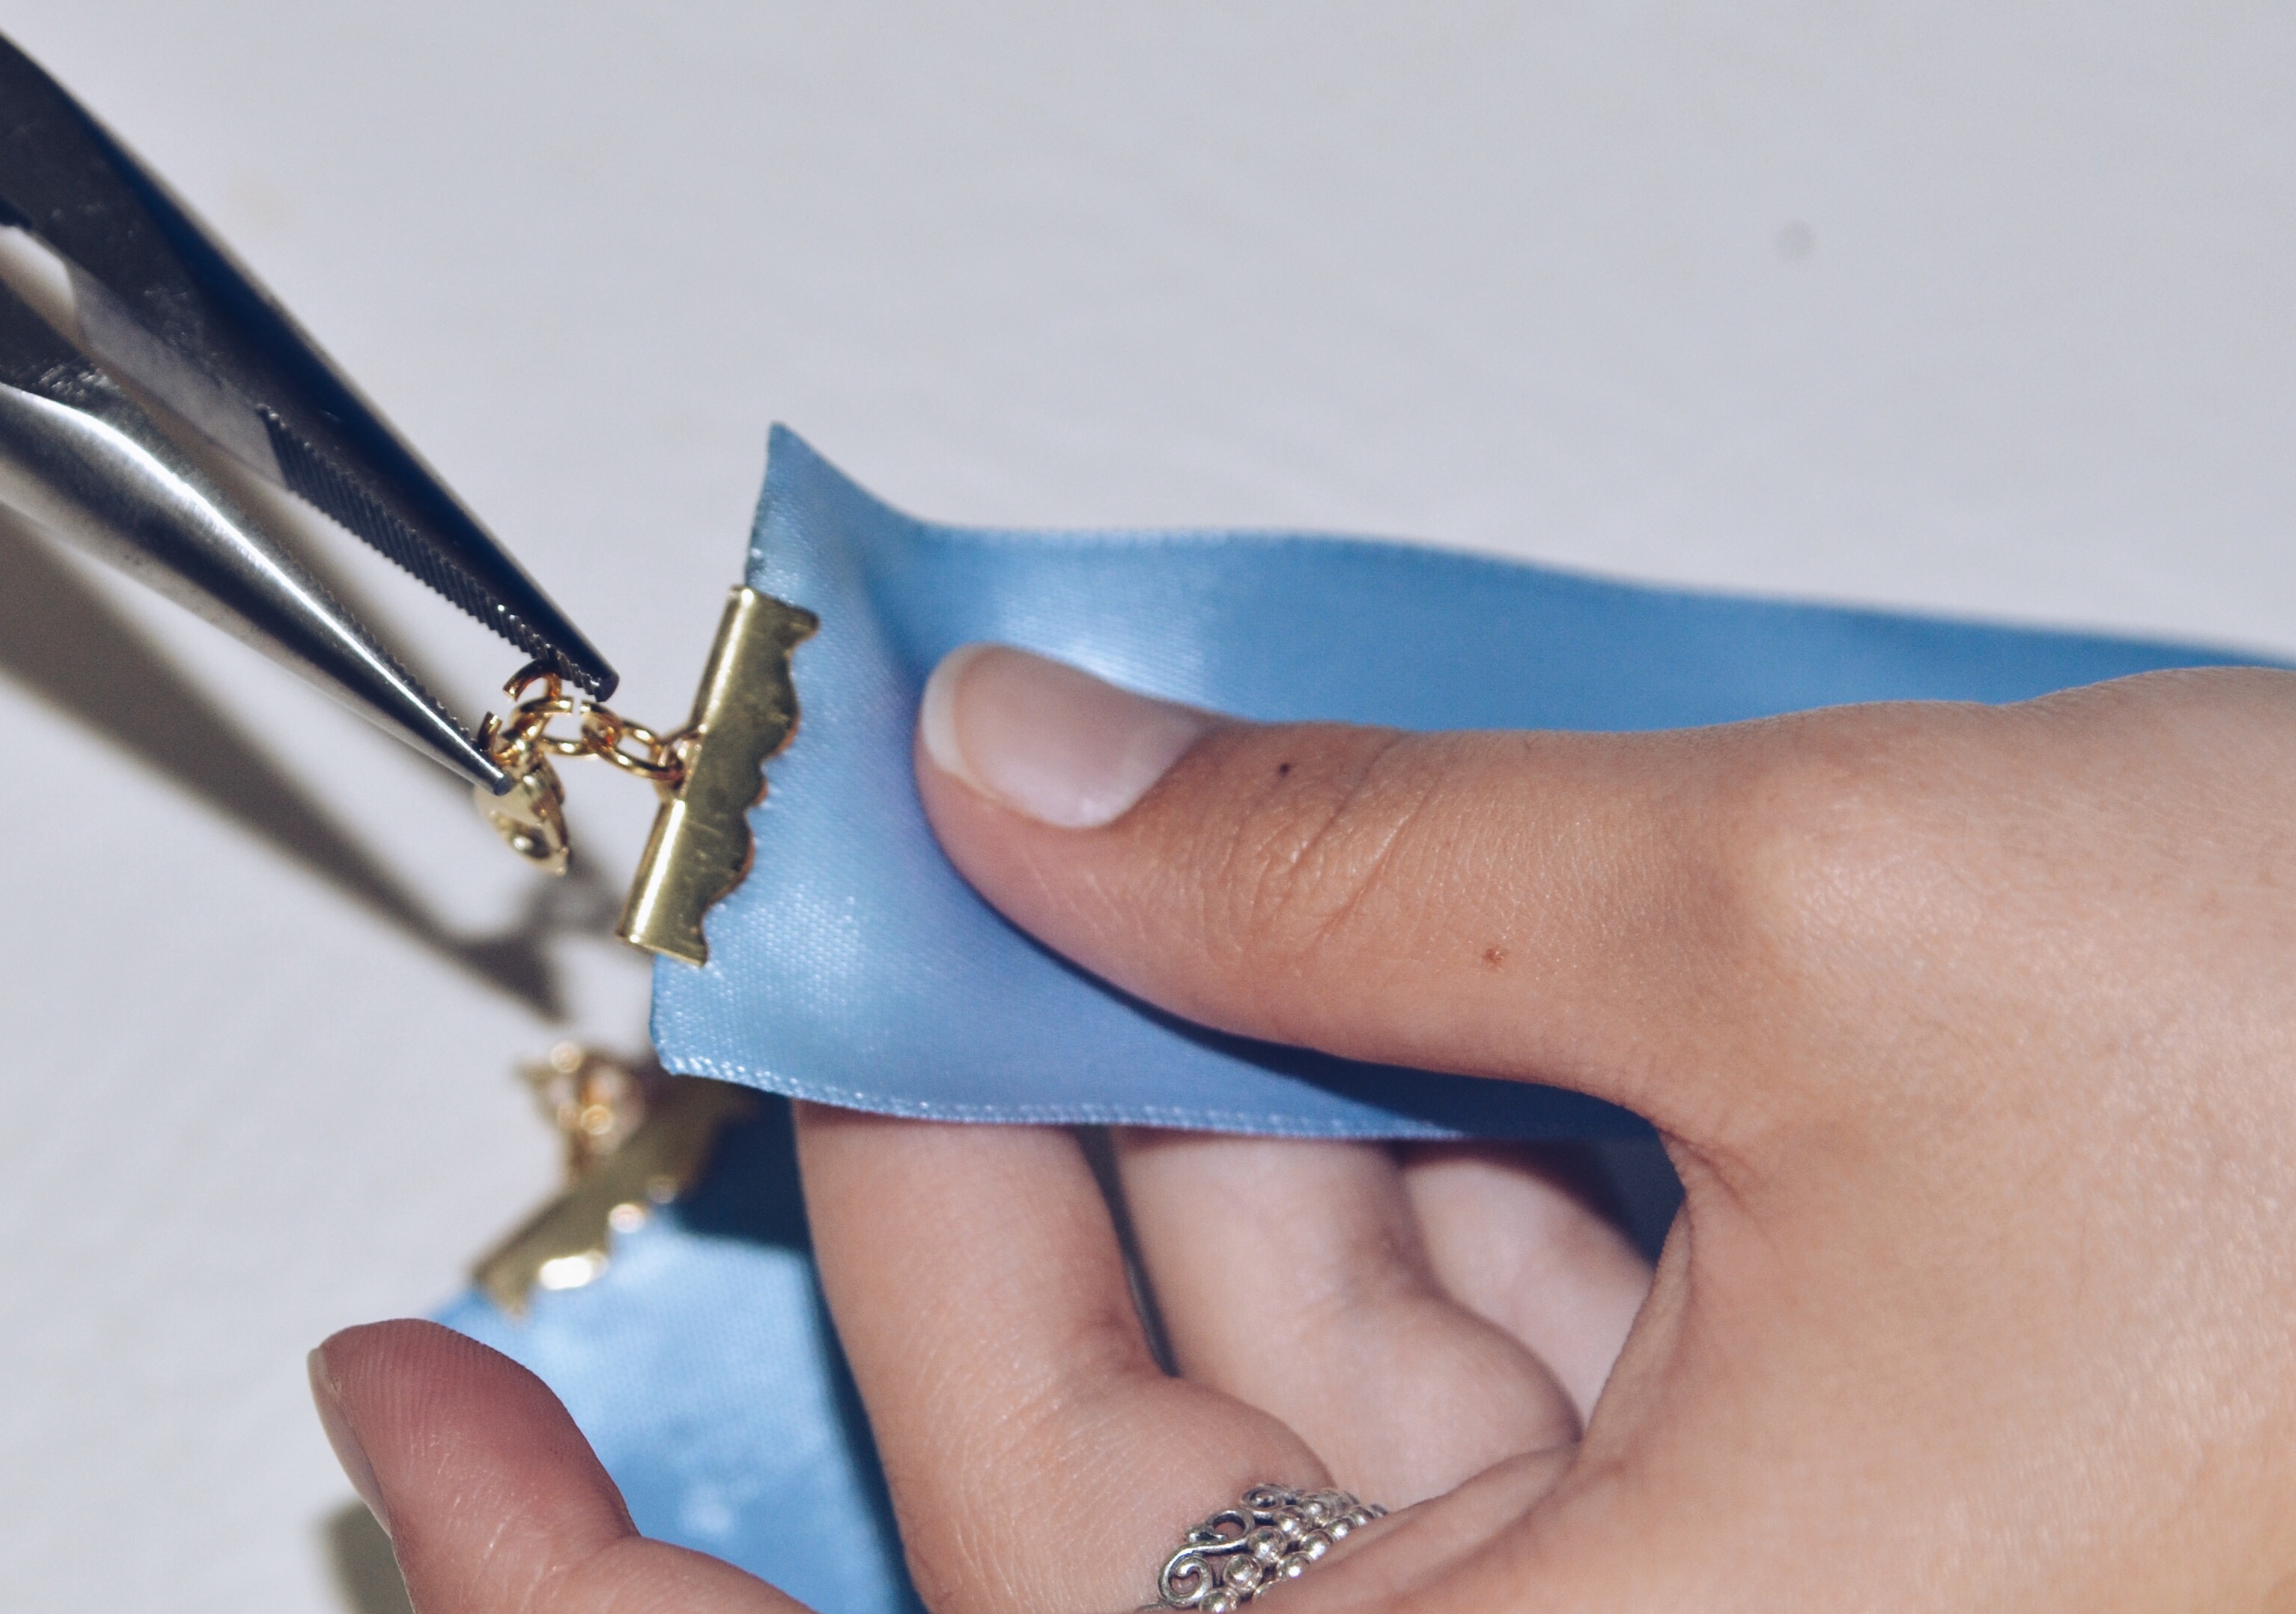
Now, add a jump ring to the other side and then attach the clasp. Be sure to close the jump ring with your round nose jewelry pliers.
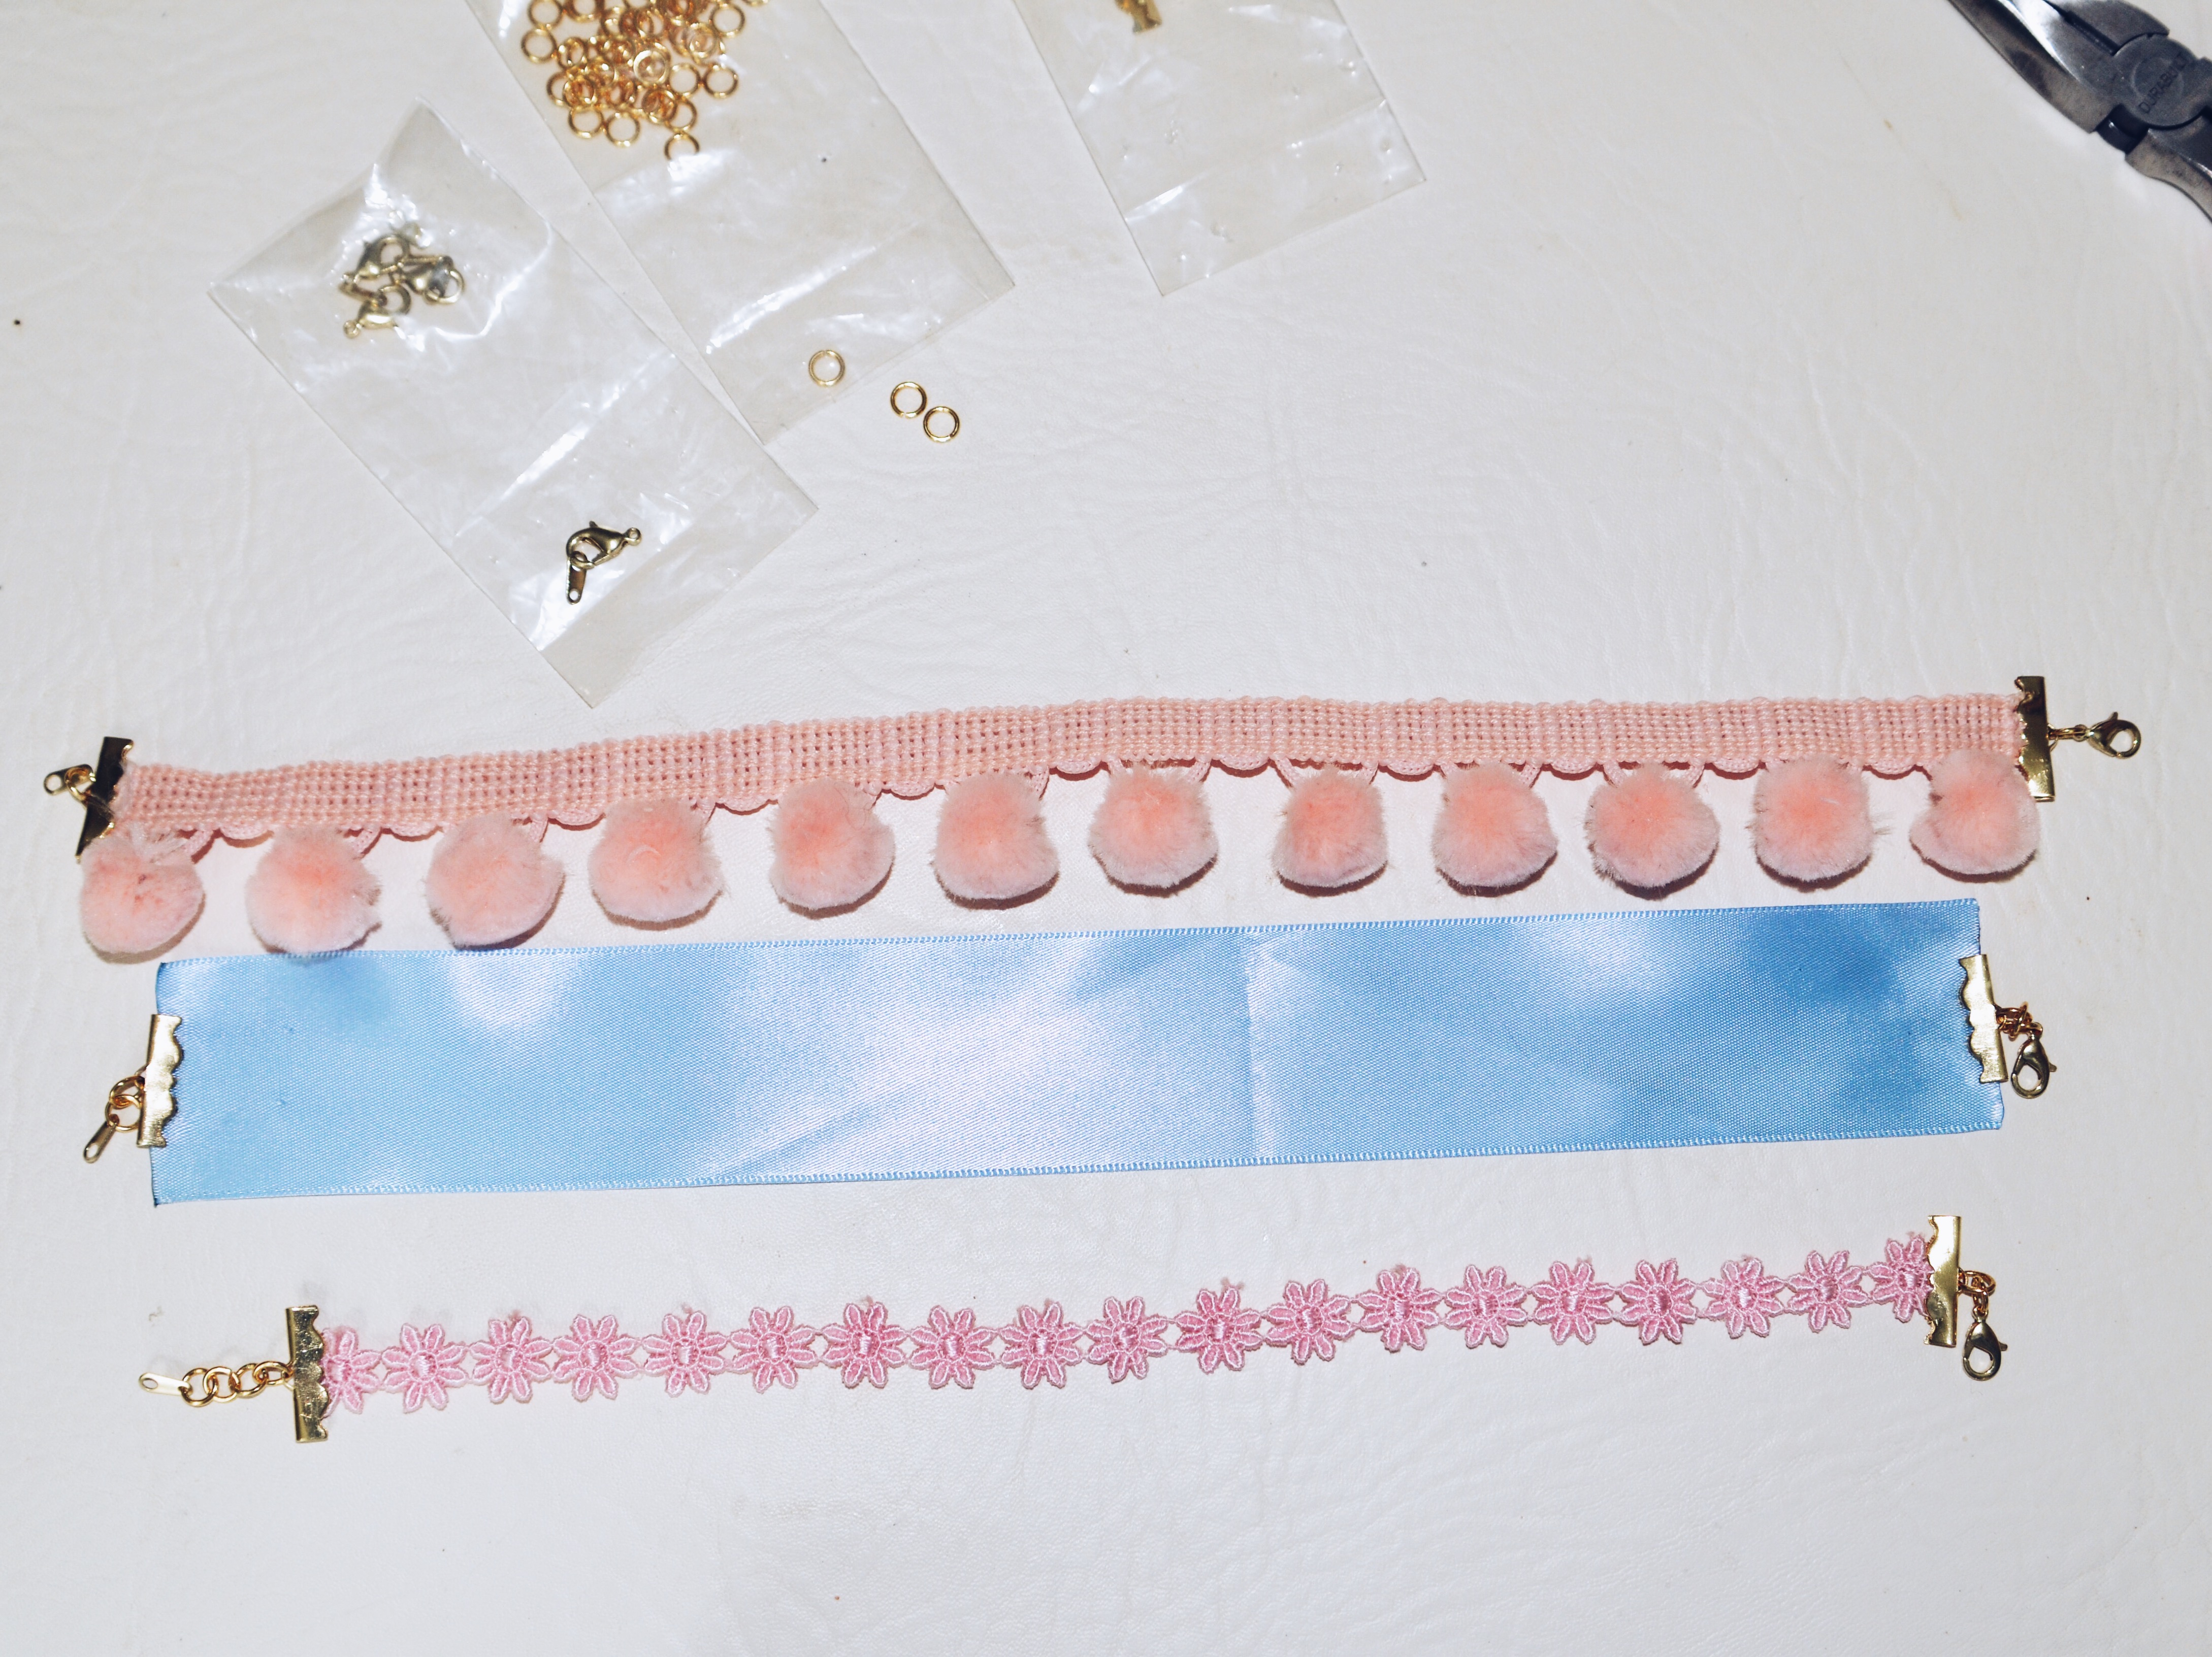
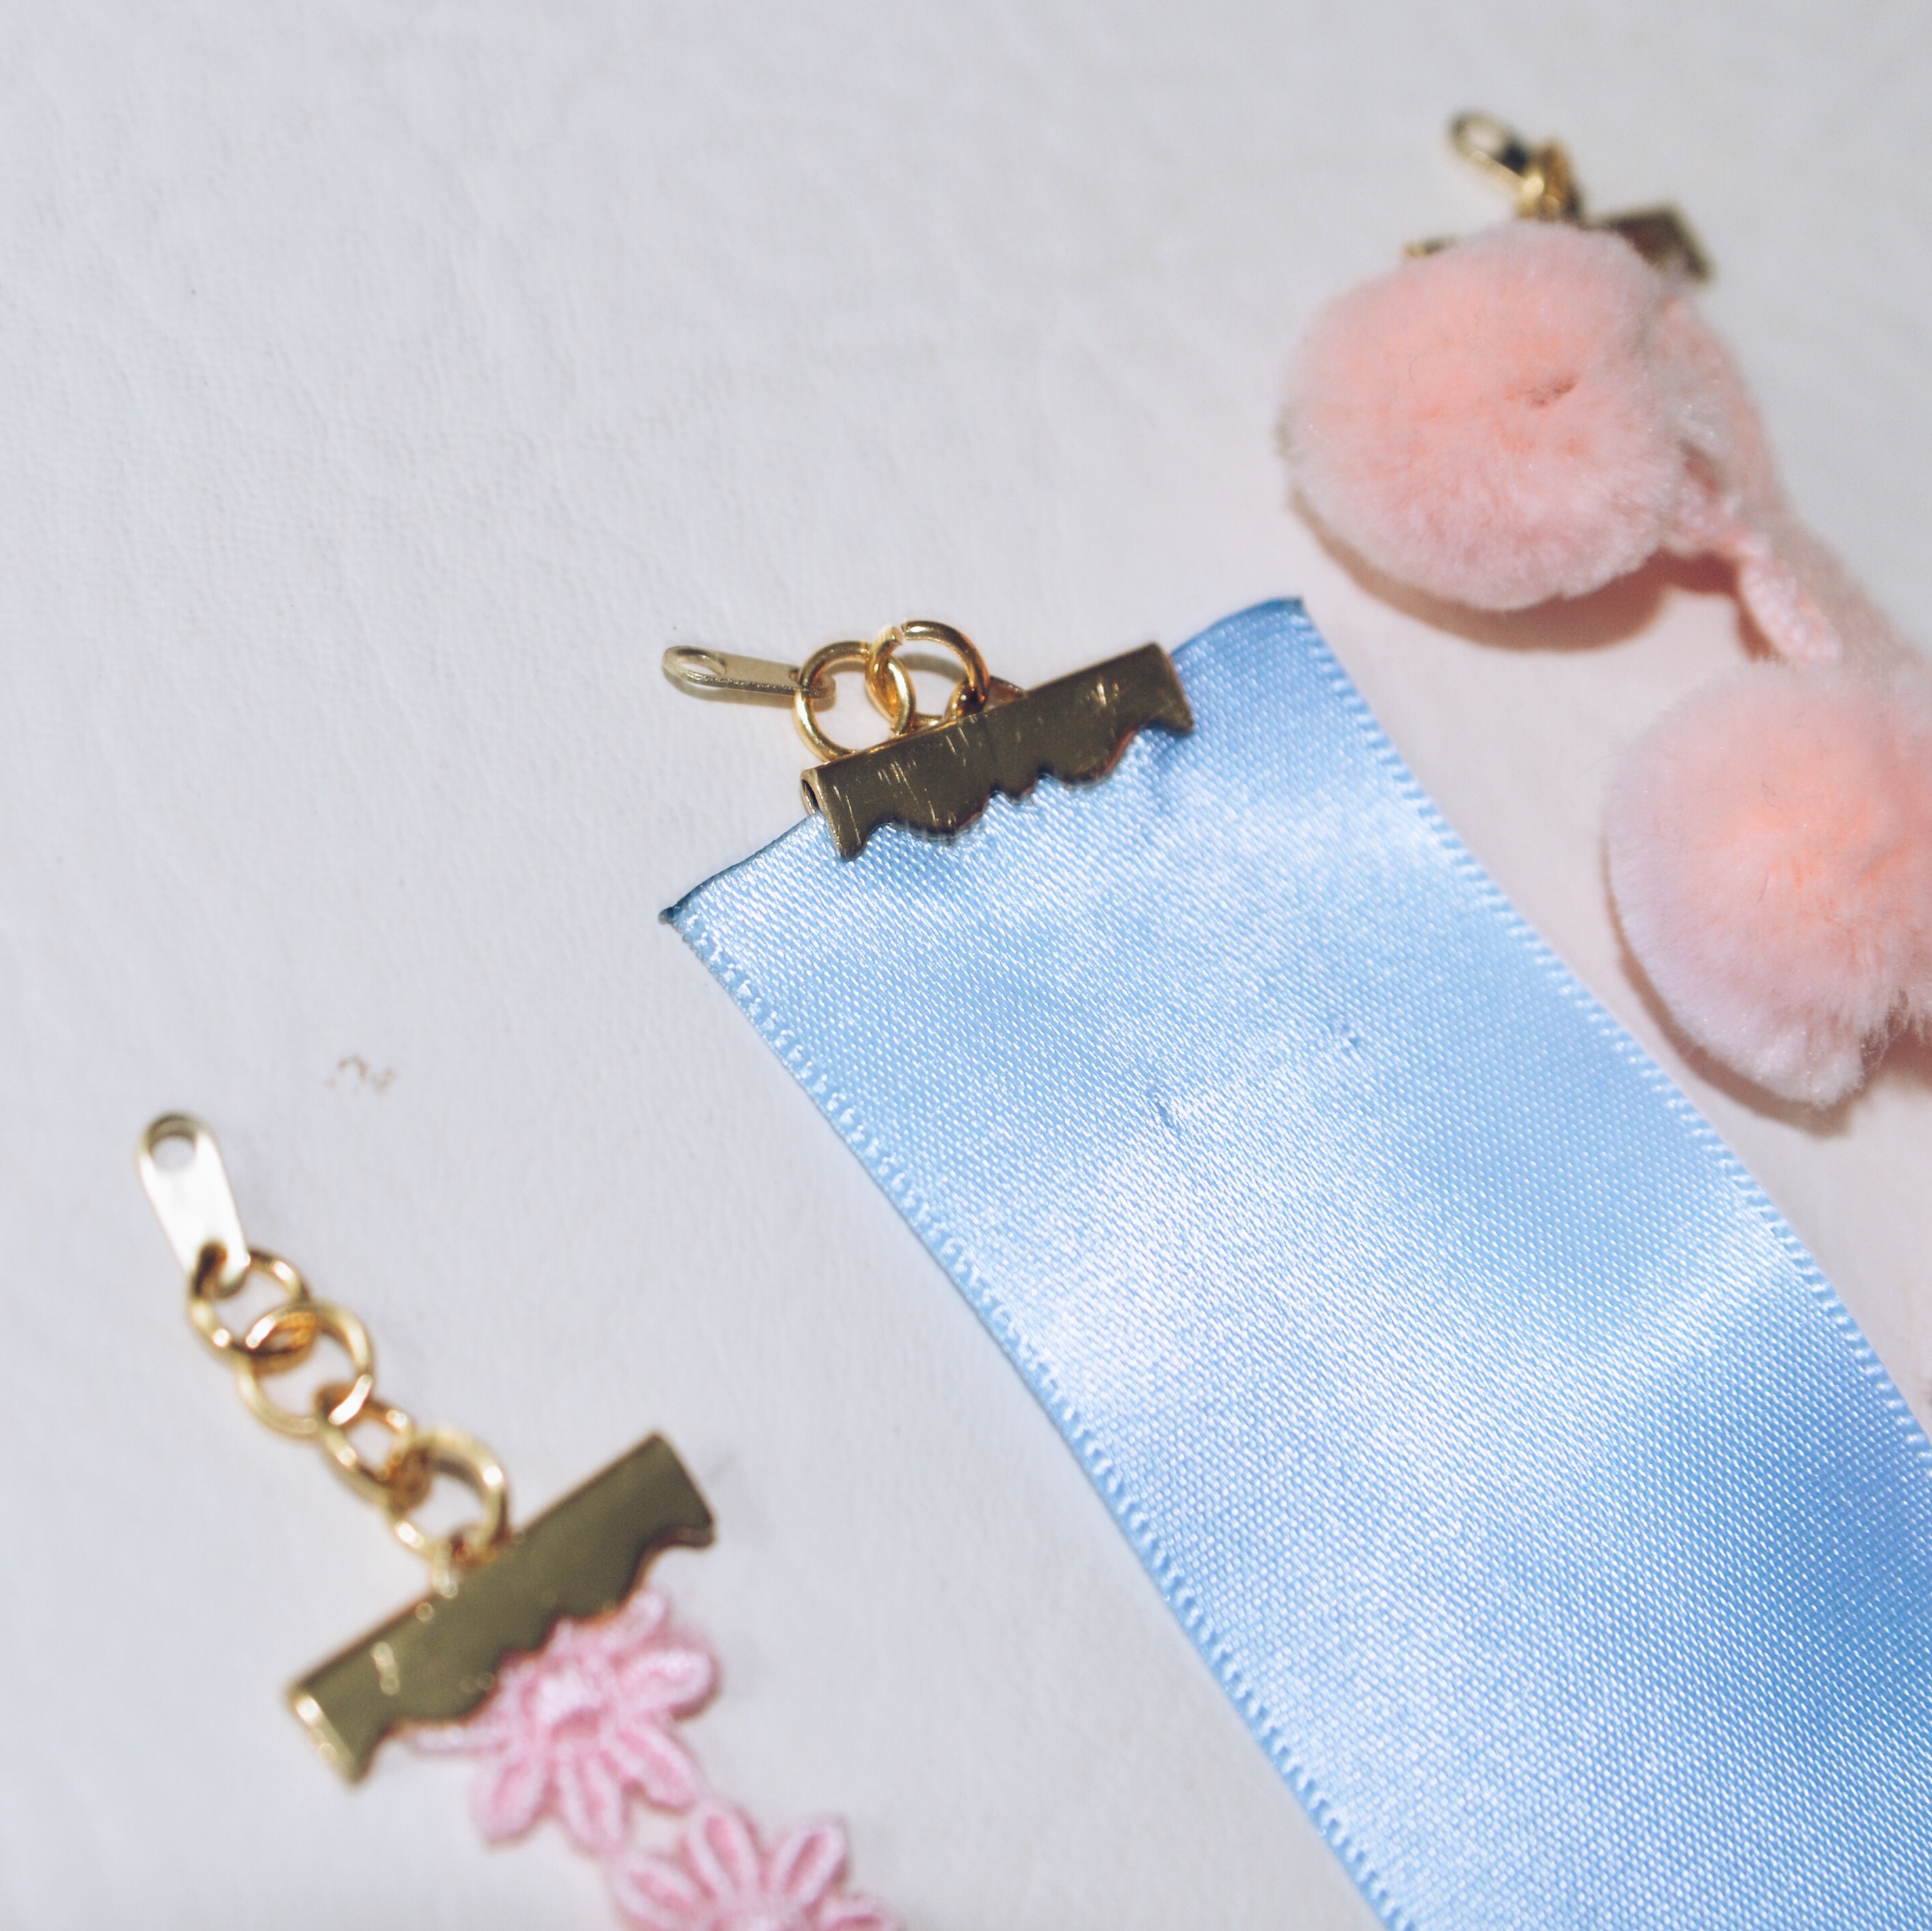
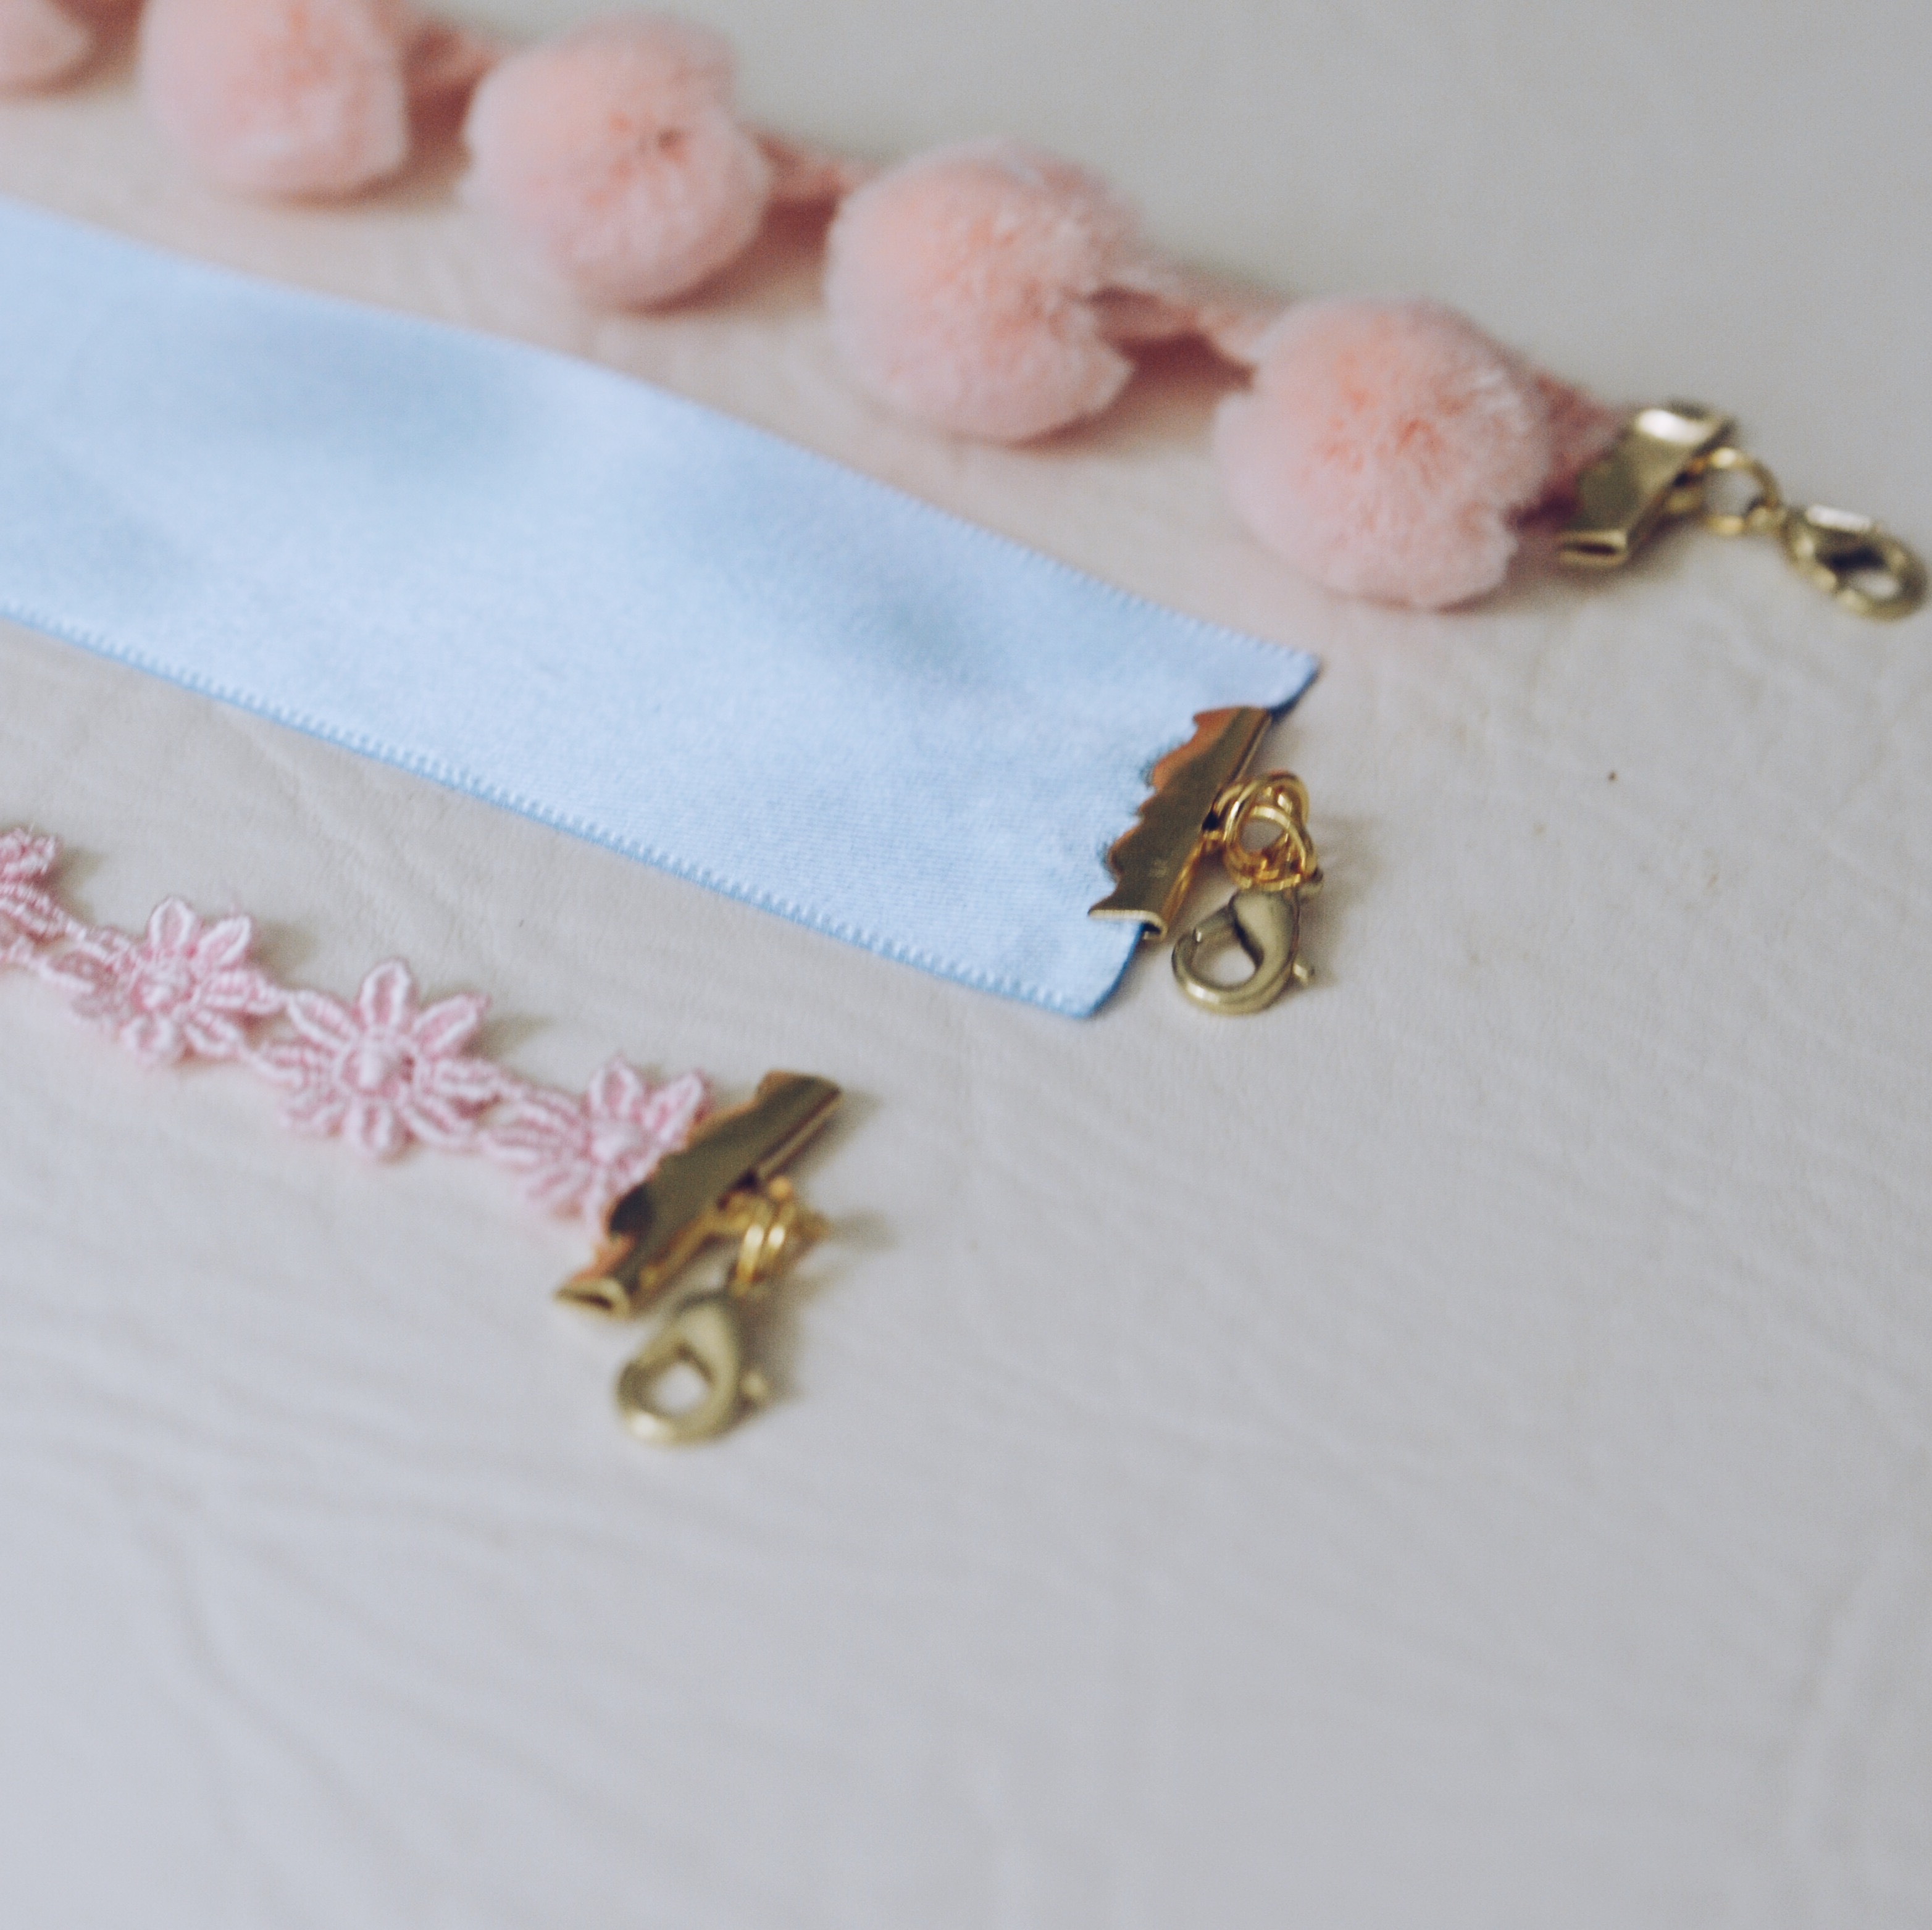
And just like that, you are done! This is what either ends of the choker(s) should look like.
 If you’re feeling like getting a bit crafty, feel free to try this DIY out and let me know how it goes. If DIY’s aren’t your thing; don’t worry. I’ve got you covered! BellaDesignsByBree is the perfect place to find high quality and trendy chokers for inexpensive + you can get 15% off your purchase when you use the code ‘mckenz15’ at checkout!
I hope my first ever DIY wasn’t too tricky to follow/understand! My apologies if it was. Do you love chokers, too?! Let me know in the comments below along with any other questions, comments, or requests you may have for me. Wishing you all a very happy day. With love, McKenz
Latest Post: Monochromatic Lookbook / Outfit Ideas
Related Post: Spring Choker Haul + Outfit Idea ft. BellaDesignsByBree
Instagram: styledbymckenz
YouTube: McKenzie Morgan
SaveSave
Love the DIY tutorial! Thanks McKenz!
Woo yay! So happy to hear that ?
What a fun blogpost McKenzie!!! I really liked this! That pink-flowery one might be my favorite! xo
I love that one too, girly! Thank you so much ?
What a great idea! I have to try this.
Yay so glad you enjoyed it! 🙂
Awesome DIY! I have to try this!
So happy you liked it! Thanks so much girly.
Wow this is super cute and useful! Love it! http://sayeedahsparkles.com
Yay! So happy you enjoyed. Have a fab Friday?
[…] Post: DIY Chokers to Wear This Summer Related Post: Monochromatic Lookbook / Outfit Ideas Instagram: styledbymckenz YouTube: McKenzie […]
I just recently made my own choker the exact same way! I love it because you can choose any fabric that you’d like xx.
Yes!! The options are endless. Thank you, Kali?
[…] Details- top: Old Navy (in store only), jeans: Gap, shoes: Forever 21, choker: DIY, watch: […]
[…] week on StyledByMcKenz: Monochromatic Lookbook / Outfit Ideas, DIY Chokers to Wear This Summer, 4 Ways To Style Sneakers This Season, Summer 2017 Goals, Aspirations, and a Bunch Of Random […]
[…] DIY Chokers to Wear This Summer […]